

Farm road construction on a Kenyan farm is not a smaller version of a public road. It is a network sized for tractors, trailers and harvest crews. It is laid out beside the drainage. And it is finished so that water leaves the surface before it softens the base. Get the widths, the drains and the turning spaces right at the start. The network then carries produce for years. Get them wrong, and every wet season turns a road into a gully.
This farm road construction guide sets out the design and the build in work order. It covers the two road classes, the drainage and culverts, and the hydrant positions. It also covers the block layout and turning space, then the grading, compaction and murram wearing course that finish the job. The roads sit inside a wider irrigation in Kenya network, and therefore each one is planned with the blocks and the water it serves.
What Farm Road Construction Has to Carry
Start with the traffic, because the traffic sets every dimension that follows. A farm network carries four kinds of load. Tractors and implements work the blocks. Trailers and trucks haul produce out. Service vehicles reach pumps and stores. Workers move between blocks on foot. Each load has a different width, a different turning need and a different tolerance for mud.
The heaviest combination decides the standard. A loaded trailer on a weak subgrade will rut a road that a pickup never marks. Therefore design for the loaded trailer in the wet season, not for the dry-season pickup. The NRCS access road standard makes the same point. It says to design for the vehicle, the speed, the loads, the soils, the climate and the turning radius expected on the road.
Farm road construction also has to serve the whole farm, not one block. A road that reaches a single block and stops is a dead end. Every later implement must reverse out of it. Therefore lay the network as a loop, or as a spine with branches. Let each branch serve several blocks.
Road Widths: 6 m Main Access and 3 m Block Roads
Farm road construction uses two road classes on most farms. The main access road runs from the gate to the store, the pump house and the head of each block. It carries two-way traffic and the loaded trailer, hence it is built 6 m wide. The secondary or block access road runs between and along blocks at 3 m. That is enough for one tractor and implement at a time.
Those two figures sit close to published minima. The NRCS standard sets an all-purpose roadbed at 20 feet, about 6.1 m, for two-way traffic. It sets a single-purpose road at 10 feet, about 3.0 m. Thus a 6 m main and a 3 m block road are not generous. They are the recognised floor for the traffic each carries.
| Class | Width | Traffic it carries | Published cross-check |
|---|---|---|---|
| Main access | 6 m | Two-way, loaded trailers, trucks, service vehicles | NRCS 560: 20 ft (6.1 m) two-way roadbed |
| Block access | 3 m | One tractor and implement, one-way | NRCS 560: 10 ft (3.0 m) single-purpose minimum |
| Passing place on a 3 m road | 6 m over 10-15 m length | Two machines meeting | NRCS 560: turnouts on single-lane roads |
| Turnaround at a dead end | Sized to the longest combination | Tractor plus trailer turning | NRCS 560: turnaround at end of dead-end roads |
One caution follows from the same standard. Where trailers must pass each other continuously, NRCS adds 4 feet to the two-way width. That takes it to about 7.3 m. A 6 m main is therefore a road with passing places, not a continuous two-lane trailer highway. On a 3 m block road, provide a turnout wherever two machines can meet. Neither can reverse safely along a planted block.
Width is also land taken out of production. A 6 m road plus its side drains and fence reserve can consume close to 9 m of corridor. Therefore run roads on block boundaries, where one corridor serves two blocks. Do not cut them through the middle of a planted area. The fence on that reserve is its own job, covered in our farm fence installation guide. Good farm road construction positions the network to serve the most blocks per metre of road. The land cost then falls without narrowing anything.
Farm Road Construction Follows the Drainage, Not the Reverse
In farm road construction, water decides the alignment before the grader arrives. Where practical, run each road alongside a drainage line. The road and the channel then share one corridor and one fall. The road drains into the channel beside it. The channel carries both the field runoff and the road runoff away from the formation.
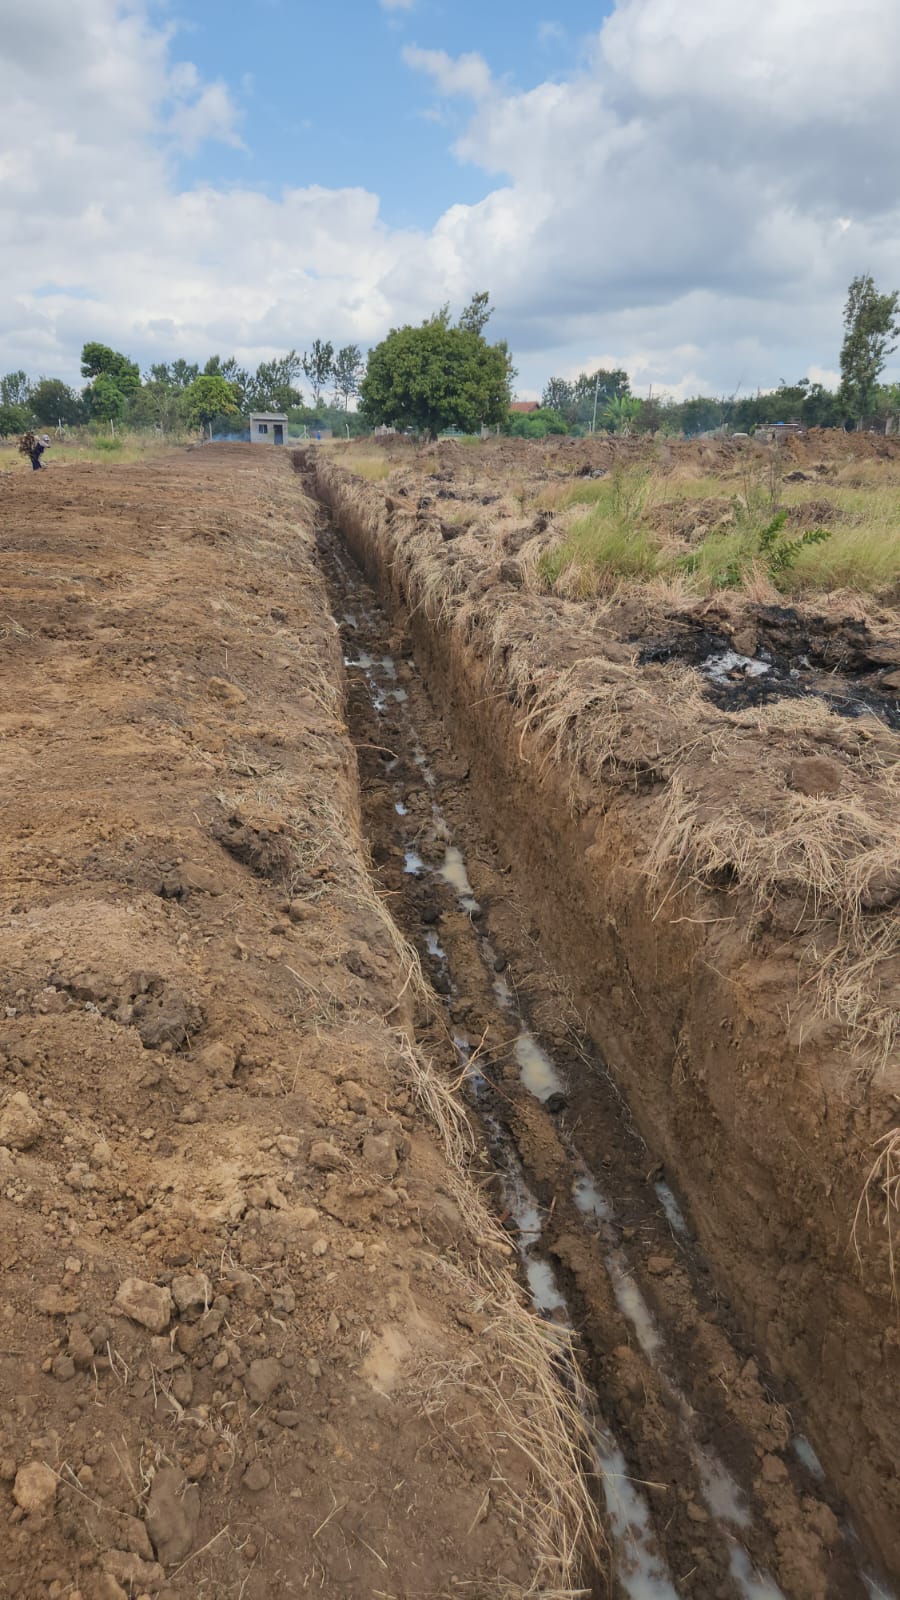
Follow the contour where you can. The NRCS standard says to follow natural contours and slopes to minimise disturbance of drainage patterns. It also says to place the road where it can be maintained without creating water problems. A road that fights the fall needs more culverts, more dips and more maintenance than one that runs with it.
Keep the channel below the road surface, not level with it. If the drain invert sits at or above the tread, water backs onto the road in every storm. The base then saturates. For channel sizing, spacing and outlet design, our drainage lines guide covers the field side. This page covers the road-drain interface only.
Culverts: Where Farm Road Construction Crosses a Drainageway
Every point where a road crosses a natural drainage path needs a structure. The NRCS standard is explicit. It says to provide a culvert, bridge, ford or surface cross drain at every natural drainageway. A road built across a waterway without one dams the flow. The dam then fails through the road in the first big storm.
Size the culvert for a design storm, not for the pipe that happens to be on site. The standard requires capacity to convey the design storm runoff without erosion or road overtopping. The storm frequency is set by how intensively the road is used. A farm access road sits in the lower classes. Even so, the pipe still has to pass the storm, not just the trickle.
In practice, set the culvert on the natural invert so the channel keeps its fall through the structure. Then protect both ends. The outlet is where most culvert failures start. Concentrated flow cuts a hole below the pipe and undermines it. Therefore armour the outlet with riprap or a stable apron, and keep the discharge area vegetated.
On steep grades, add surface cross drains between culverts. A broad-based dip or rolling dip throws water off the tread before it gains speed. The Uganda gravel roads manual notes that longitudinal gullies form on gradients above about five percent. That is exactly the flow a dip interrupts.
Hydrants Along the Road Edge, Not in the Block
Farm road construction puts hydrants on the road side of each block. That is where a hose can reach the block without a machine or a worker crossing planted ground. Place them along the road at points where one layflat run reaches the far end of the block. Spacing therefore follows block size and hose length, not a fixed metre rule.
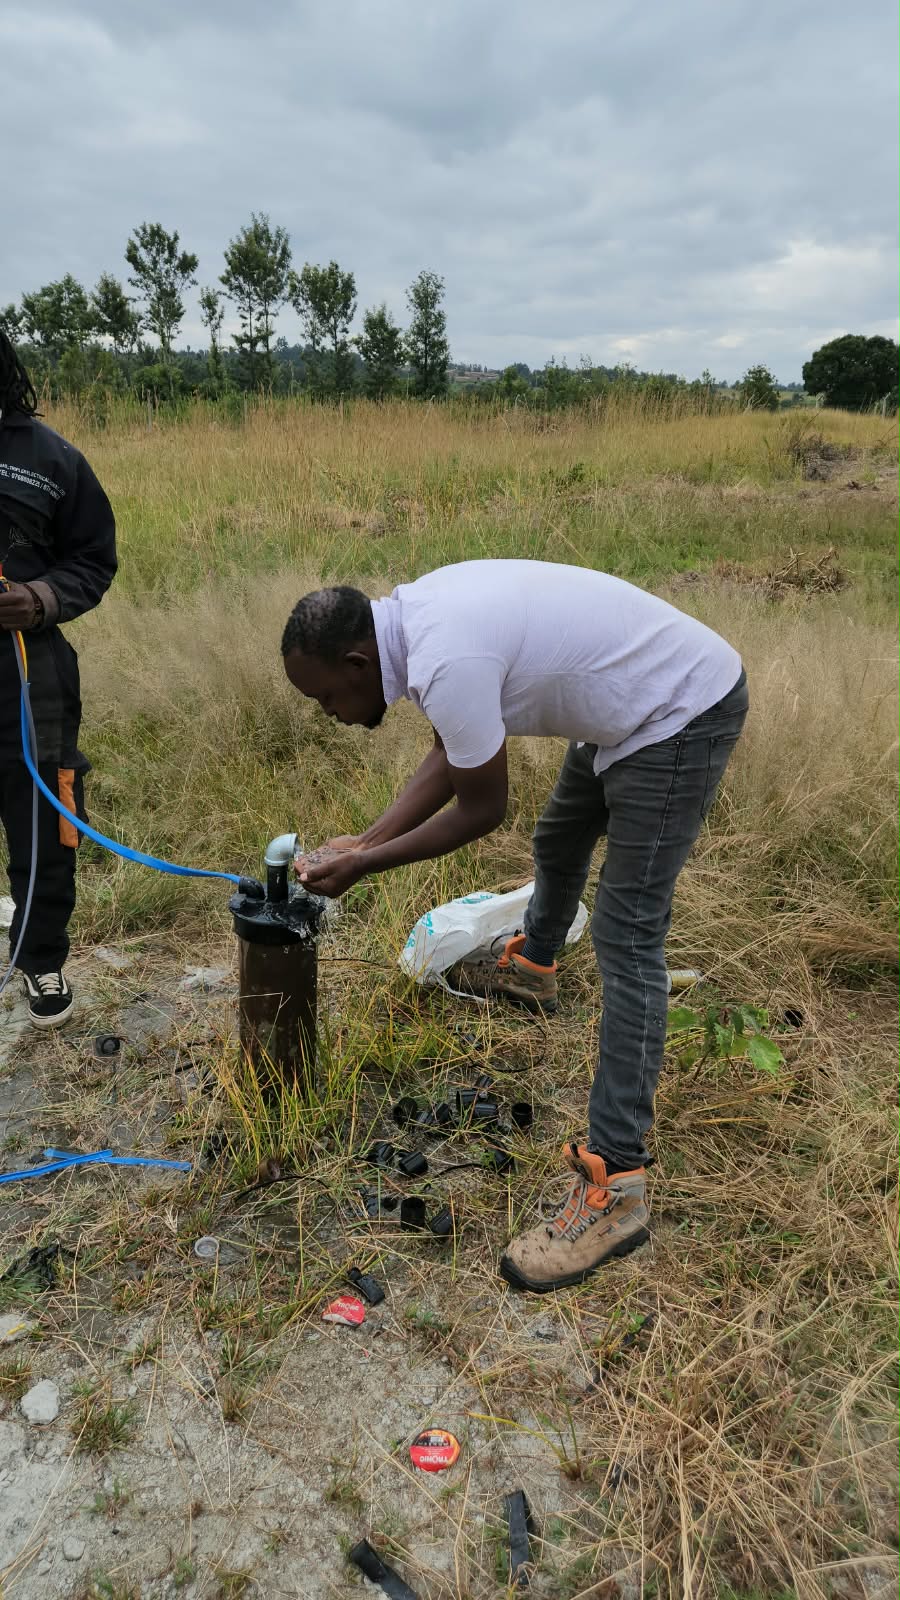
Keep the hydrant out of the traffic tread. Set it on the shoulder or in the drain reserve. It should be close enough that a hose lies along the edge. It should be far enough that wheels and implement frames never touch it. A hydrant in the tread gets sheared off by the first sprayer that misjudges the line.
Give every hydrant a stable base and a clear working space. A concrete apron or a compacted gravel pad keeps the coupling out of the mud. A worker can then connect a hose in the wet season without standing in water. Also mark each one with a post. A hydrant hidden in grass is a hydrant nobody finds until it leaks.
The main that feeds these hydrants needs air release at its high points. Otherwise trapped air will hammer the line every time a hydrant opens. The shop stocks an air release valve for exactly that job. For the network the hydrants sit on, see our drip irrigation systems guide.
Keeping Hydrants Alive Under Machinery Traffic
Protection is part of farm road construction, not a repair budget. Three measures cover most farms. First, offset the hydrant from the tread as above, so the normal traffic path never crosses it. Second, house the valve in a box or behind a raised apron. An occasional wheel then rides over the structure instead of the riser. Third, mark it with a post tall enough to see from the cab.
Where a hydrant must sit near a turning area, add bollards or a concrete collar on the traffic side. Turning machines swing wide, and the tail of an implement cuts inside the wheel path. A collar takes the strike that would otherwise snap the riser at the base.
Inspect hydrants with the roads, not separately. A hydrant that leaks saturates the shoulder beside it. A saturated shoulder then fails under the next loaded trailer. As a result, a hydrant fault is a road fault, and the maintenance round should treat it as one.
Block Layout and Turning Space for Tractors and Trailers
Farm road construction is only as useful as its turning spaces. A tractor with a mounted sprayer can turn in a tight headland. The same tractor with a loaded trailer cannot. Therefore provide a turning bay at every block end and at every intersection where a combination must change direction. Size it for the longest unit that uses the road.
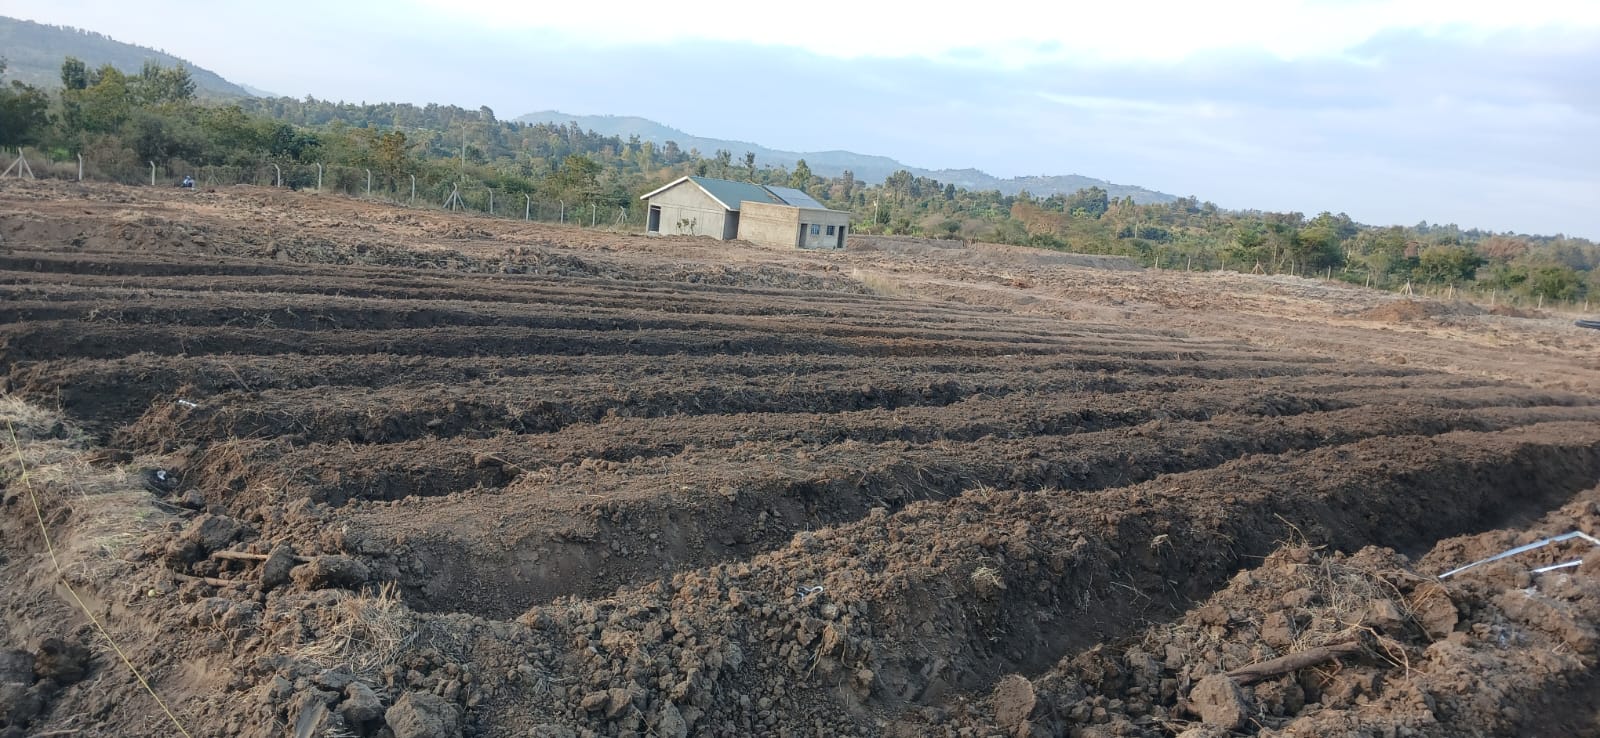
At a dead end, build a T, a Y or a hammerhead turnaround rather than a cul-de-sac. The NRCS standard requires a turnaround at the end of dead-end roads, sized for the anticipated vehicle. A T or Y lets the combination turn in forward and reverse moves. It will not jack-knife against a fence or a drain.
Minimise sharp corners along the route. Every acute corner is a place where a trailer cuts the inside edge. It tears the shoulder and drops a wheel into the drain. Therefore round the corners to the turning radius of the longest combination. Keep the inside of the curve clear of hydrants, posts and trees.
Lay the blocks so the working direction runs with the road, not across it. Planting, spraying, harvesting and produce transport then move along the block and out to the road in one flow. The blocks themselves are shaped during land preparation, before the roads are graded. The headland at each block end doubles as the turning bay. Therefore the turning space costs no extra land beyond the headland the crop already needs.
Farm Road Construction Levels, Camber and Compaction
Grade the road to its design levels before any surfacing goes on. The longitudinal fall should stay at or below 10 percent for normal lengths. The NRCS standard allows 15 percent only for short special-use sections. Steeper than that, water runs down the tread faster than the surface can shed it. It cuts gullies instead of draining.
Across the road, build a camber so water leaves the surface sideways. NRCS gives unpaved cross slopes of 2 to 6 percent. The FHWA gravel roads guide recommends the middle of that band. That is about 4 percent, or half an inch of fall per foot, in a straight line from shoulder to centreline.
However, the shape matters as much as the number. A parabolic crown is flat in the middle and steep at the edges. It leaves water standing in the centre of the road. Therefore cut a straight-line crown, and check it with a crown gauge or a level rather than by eye. Water standing in the wheel paths is the start of every rut on the farm.
Compact each layer as it is placed, at the right moisture. Compaction is what turns loose murram into a crust that sheds water. Without it the surface stays open, absorbs rain and softens. The moisture target and the density target are in the next two sections.
Subgrade Preparation and Compaction
The subgrade is where farm road construction is won or lost. It is the natural soil the road sits on, and it carries everything above it. Strip topsoil and organic matter from the formation first, because organic soil never compacts to a stable base. Then shape and compact the exposed subgrade to the design levels and camber. This follows the same sequence as preparing land for drip irrigation, where the formation is shaped before any layer is placed.
The Uganda Ministry of Works gravel roads manual specifies a measurable target. The top 25 cm of subgrade must reach at least 93 percent of maximum dry density under BS Heavy or AASHTO T 180. It notes that 95 percent is achievable with modern equipment and tighter moisture control. Use 95 percent as the target where you can control moisture, and 93 percent as the floor.
Moisture is the lever. Compaction at the optimum moisture content gives the greatest density. Too dry and the soil will not bind. Too wet and it pumps under the roller. Therefore water the formation before rolling in the dry season. Let a soaked formation drain before you compact it.
On weak ground, separate the subgrade from the surfacing. Silts, organics and soft clays pump fines up into the gravel under traffic. That contaminates the layer and weakens it. Both NRCS and the FHWA guide prescribe a geotextile separator over such subgrades in farm road construction, before the select material goes on. The fabric lets water pass but keeps the fines down. The gravel then stays clean and drainable.
Murram and the Gravel Wearing Course
The wearing course is the visible part of farm road construction. It is the layer that takes the traffic and the weather. On Kenyan farms it is typically murram or a similar natural gravel. Its quality decides how often the road needs reshaping. A good gravel binds into a tight crust. A poor one turns to dust in the dry and to mud in the wet.
The Uganda manual sets measurable limits for that crust. Specifically, the material should reach a CBR of at least 25 at 95 percent of maximum dry density, soaked four days in wet zones. Its field dry density should be at least 95 percent. The grading coefficient should fall between 16 and 34, and the shrinkage product between 120 and 400. Those two windows separate a gravel that binds from one that ravels or slips.
| Layer / feature | Target | Source |
|---|---|---|
| Subgrade, top 25 cm | 93% MDD minimum, 95% achievable (BS Heavy / AASHTO T 180) | Uganda MoWT Vol III Part 3 |
| Wearing course strength | CBR 25 min at 95% MDD, 4-day soaked in wet zones | Uganda MoWT Table 6.1 |
| Wearing course grading | Grading coefficient 16-34; shrinkage product 120-400 | Uganda MoWT Table 6.1 |
| Compacted lift thickness | 250 mm maximum per layer | Uganda MoWT Table 3.2 |
| Longitudinal grade | 10% normal maximum; 15% short special sections only | NRCS 560 |
| Cross slope / crown | 2-6% unpaved; about 4% straight-line crown recommended | NRCS 560; FHWA gravel guide |
Place the gravel in lifts no thicker than 250 mm compacted. Compact each lift before the next goes on. A single thick lift looks finished on top and stays loose underneath. It then rutts under the first loaded trailer.
Allow for compaction shrinkage when you order material. The FHWA guide warns that ordinary compaction can reduce loose volume by 30 percent or more. Consequently a road needing 100 cubic metres of compacted gravel needs roughly 143 cubic metres hauled and spread. Order on the compacted figure alone and the road finishes thin.
Side Drains, Outlets and Erosion Control
Side drains are part of farm road construction, not an optional extra. Their capacity must carry the runoff from the road surface. Their grade and side slopes must be stable enough not to erode. NRCS requires a stable outlet for every ditch, protected with riprap or similar where the flow concentrates.
Keep the shoulder from building up above the tread. A high shoulder traps water on the road edge. It forms a secondary ditch that carries flow along the road instead of off it. The FHWA guide identifies that secondary ditch as a major cause of shoulder and subgrade erosion. Therefore blade the shoulder down to the drain line every maintenance pass.
Also vegetate the banks and the disturbed ground as soon as conditions allow. Bare cut and fill slopes are the sediment source that silts the drain below them. NRCS treats bank vegetation as part of the practice, not as landscaping. A silted drain stops draining, and the road floods next storm.
Maintenance: What Farm Road Construction Costs to Keep
A gravel road is a maintained surface, not a finished one. The Uganda manual puts annual gravel loss at 10 to 30 mm per 100 vehicles per day. As a result even a well-built road thins every season and needs regravelling on a cycle. Budget for that cycle at construction, not after the first ruts appear.
Inspect after every major runoff event. NRCS lists culverts, roadside ditches, water bars and outlets as the items to check after each big storm. Restore flow capacity and stable outlets as needed. A blocked culvert found in the dry season is a cheap fix. The same blockage found during a storm is a washed-out road.
Next, reshape with the grader at slow speed. The FHWA guide puts good blading at 3 to 5 mph, roughly 5 to 8 km/h. A faster machine bounces and leaves ridges and depressions. Cut the high spots, fill the lows, and re-establish the straight-line crown in the same pass.
Roll after blading where you can. A pneumatic roller re-forms the crust and leaves a denser, smoother surface that holds its shape longer. Steel drums can stick to cohesive gravel at or above optimum moisture. Therefore rubber-tyred rollers are the usual choice on murram.
Finally, keep the whole network on one round. Roads, drains, culverts and hydrants fail together, because water and traffic connect them. One inspection round that covers all four catches the leak that becomes the rut. It also catches the blockage that becomes the washout.
Frequently Asked Questions About Farm Road Construction
How wide should a farm road be in Kenya?
Use 6 m for the main access road that carries two-way traffic and loaded trailers. Use 3 m for block access roads used by one machine at a time. Add passing places on the 3 m roads and a turnaround at every dead end.
What camber does a murram road need?
About 4 percent, in a straight line from shoulder to centreline. That sits inside the 2 to 6 percent unpaved range and sheds water without pushing vehicles toward the shoulder.
How do I size a culvert on a farm road?
Size it to pass the design storm for the road’s use class without overtopping. Set it on the natural invert, with protected outlets. Every natural drainageway the road crosses needs a structure, not just the obvious streams.
Where should irrigation hydrants sit?
On the road side of each block, offset from the traffic tread. Set each one on a stable pad and mark it with a post. Space them so one hose run reaches the far end of the block they serve.
What if the road crosses soft or wet ground?
Farm road construction on soft ground needs a geotextile separator first. Place select gravel over the fabric. The fabric stops fines pumping up into the gravel, which is what turns a soft section into a permanent bog.
How often does a gravel farm road need regravelling?
Plan on losing 10 to 30 mm of gravel a year per 100 vehicles per day, plus storm damage. Reshape after heavy rain. Regravel on a cycle set by traffic, rather than waiting for ruts to reach the subgrade.