

Table of Contents
Water that has nowhere to go decides what a field can grow. Drainage lines give it a route out. Most of this work in Kenya is still built by eye, with a spade, a string and a fall judged from a fence line. This guide covers construction from the survey peg to the outlet. It sets the depth, spacing and gradient decisions that are hard to change once the trench is open.
The numbers below come from two published design sources and from field practice on clay and loam soils. They are ranges rather than prescriptions. Soil, outlet level and crop each shift the answer. Because of that, every decision here is paired with the measurement that drives it.
Most plots go through land preparation for drip irrigation first, where tillage and bed layout are set. Drainage belongs to the same plan and should be pegged in the same survey.
What a drainage line does that a slope cannot
In practice a field can fall at 3% and still hold water through its middle. Slope moves surface water away. It does nothing for water sitting in the top 60 cm of a heavy soil after three wet days. Consequently a drainage line has two jobs that a fall of land cannot do on its own. It intercepts water arriving from above the plot, and it lowers the water table inside it.
Those jobs need different structures. A cut-off drain runs across the slope above the area being protected. A lateral runs down the fall inside the protected area. Typically a plot needs one cut-off drain, a set of laterals, and a collector that leaves at the low corner.
Confusing the three is the most common layout fault on smallholder plots. For example, one trench down the middle of a basin intercepts nothing from uphill. It collects only what reaches it. Rather than draining the field, it drains a strip of it.
Where the water ends up matters as much as the route it takes. For this reason the outlet is designed before the first trench is cut. The receiving structure is planned in parallel, and the ponds and dam construction guide covers its siting and sizing.
Reading the field before you lay out drainage lines
Four measurements decide the layout, and none of them takes more than an hour.
- Texture to one metre, checked by hand in an auger hole rather than guessed from the surface.
- Depth to a clay pan, hardpan or rock, which sets the deepest point a lateral can reach.
- The lowest point that can legally take the water, and its level against the field.
- Where water enters from neighbours, roads and upstream catchments.
Soil texture drives everything that follows. Sand holds little water and moves it quickly. Clay holds a great deal and releases it slowly. As a result the same trench that drains a sandy loam is too far apart to help a black cotton soil.
The layer below the topsoil matters just as much. A shallow clay pan stops downward movement, so water sits on top of it and the field behaves like a shallow basin. In that case a drainage line sits just above the pan and carries water sideways to the outlet. There is no depth for it to travel through.

Open drainage lines or buried pipe: which the field needs
Typically the choice follows from the outlet and the crop, not from preference. Open channels are cheap and easy to clean, and they take land out of production. Buried lines keep the surface clear and cost more to build.
| Feature | Open earth drainage line | Buried pipe drainage line |
|---|---|---|
| Cost per metre | Low, mostly excavation | Higher, excavation plus pipe and envelope |
| Land taken | One to two metres of width | None at the surface |
| Cleaning | By hand or machine, every season | Flushing and rodding, rarely |
| Machinery crossing | Needs a culvert or a filled crossing | Crossed freely once settled |
| Best soil | Heavy clay, shallow pans, steep land | Deep permeable soil with a low outlet |
| Depth achievable | Limited by sidewall stability | Limited only by the outlet |
In practice most Kenyan plots need both. Open drainage lines handle the cut-off at the top of the plot. That is where volumes are large and the water is dirty. Buried lines handle the field itself, where the surface has to stay workable.
The outlet decides the depth of buried drainage lines
North Carolina State University Extension states the rule plainly. Subsurface drains and field ditches are installed as deep as the outlet will accommodate, which allows a wider spacing. That one sentence carries most of the design.
A deep outlet lets the lateral go deeper. A deeper lateral lets the spacing widen. Wider spacing is cheaper, because fewer metres of pipe and trench are needed per hectare. Conversely, a shallow outlet forces the system up toward the surface. There the pipes sit close together and the field stays wetter.
Two practical checks apply. In practice the outlet’s water level is measured in the wet season, not in February. A channel that runs dry in the dry season still backs up when it is full. Then confirm the fall from the far end of the field to the outlet. A line that cannot reach the outlet at grade will pond at its low end.
For most field crops the working range sits between 0.9 m and 1.2 m. Below about 0.6 m, a plough or a deep ripper can find the trench. Above 1.4 m the excavation cost rises faster than the spacing gain.
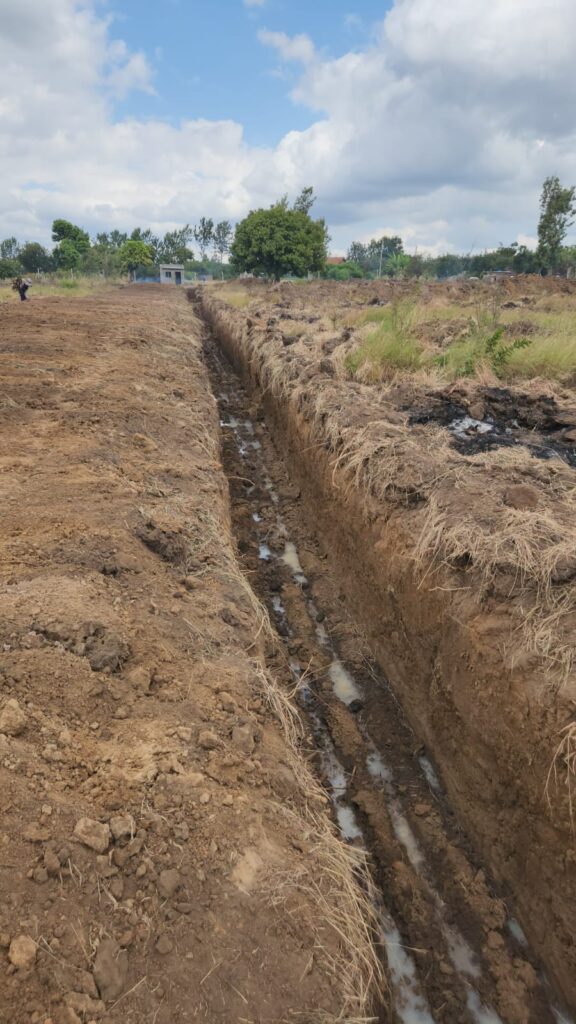
Spacing drainage lines by soil texture
Spacing follows hydraulic conductivity, and the standard tables express it as the gap that achieves a target drawdown. The table below is converted to metres from the ASABE EP260.5 figures tabulated by Ohio State University Extension.
| Soil | Permeability | Spacing, fair drainage | Spacing, good drainage | Depth |
|---|---|---|---|---|
| Clay loam | Very low | 21 m | 15 m | 0.9 to 1.1 m |
| Silty clay loam | Low | 29 m | 20 m | 1.0 to 1.2 m |
| Silt loam | Moderately low | 40 m | 27 m | 1.1 to 1.2 m |
| Loam | Moderate | 61 m | 43 m | 1.2 to 1.3 m |
| Sandy loam | Moderately high | 91 m | 64 m | 1.2 to 1.4 m |
First, read the table as a starting point. A clay loam needs a lateral every 15 to 21 m. That is why drainage on black cotton soil costs so much per hectare. Sandy loam can carry lines at 60 m and still dry, so the same budget covers far more ground.
Two corrections apply in the field. Compacted layers reduce conductivity far below what the texture suggests. A soil with a plough pan behaves like the pan rather than the topsoil. Similarly, a field that receives runoff from uphill behaves like a wetter soil class, and it needs the narrower spacing on the row.
Setting the gradient on drainage lines
A buried line is laid at a fall of at least one metre in a thousand, which is 0.1%. Earth channels take more, normally 0.2% to 0.5%, because a flat channel is harder to keep clean. These are builder’s rules rather than table values, and they are the numbers to hold on site.
The reason is sediment. Below about 0.1% the flow is too slow to carry silt. The line then silts from the far end backward until it stops working. The failure is silent, because a buried pipe gives no surface sign until the field above it stays wet.
In practice grade is set with a dumpy level, a laser, or a line level on a tightly drawn string. Over a 20 m run, a line level shows the 20 mm drop that 0.1% requires. That gap is just visible against the string. A string alone, judged by eye across 50 m, will not hold the tolerance.
Land steeper than about 2% changes the choice of structure. Ohio State University Extension notes that subsurface drainage suits fields flatter than 2% slope. Steeper ground is usually handled with graded banks and open channels, which also control erosion.

Laying out drainage lines: herringbone, grid and relief cuts
Three patterns cover almost every field. A grid runs parallel laterals straight into one collector, which suits rectangular plots and uniform soil. A herringbone runs laterals into a central collector at an angle. That shortens each lateral and suits a field with a single low line through it.
A relief cut is not a pattern but a control. It runs across the slope above the wet area, intercepts water before it arrives, and discharges to the same outlet. Where a plot sits below a road or a hillside, the relief cut carries more water than every lateral combined.
Whatever the pattern, the collector leaves at the lowest point and runs to the outlet at a steady grade. Then the laterals join it at 30 to 45 degrees in the direction of flow, so water enters with the current rather than against it.
Also, layout is worth checking on paper before pegging. Count the metres of pipe and trench per hectare at the chosen spacing, and compare that against the budget. On a clay loam at 15 m spacing the figure is roughly 670 m of lateral per hectare. A sandy loam at 64 m needs about 155 m.
Constructing open drainage lines in black cotton soil
Black cotton soil punishes a vertical cut. It cracks open when dry, swells when wet, and the sidewall of a narrow trench collapses within a season. The section therefore needs sloped sides, typically one horizontal to one vertical or flatter.
Spoil goes on the downhill side, never uphill, or the bank feeds soil back into the channel at the first storm. The channel bed is cut to a continuous grade with no low spots. A single dip becomes a sump that fills and then overflows sideways into the field.
Establish grass on both banks as soon as the work finishes. Bare banks in a cracking clay erode from the top edge down. A channel that loses its shoulders widens every season until it takes a strip of crop.
Deep cuts through the plot are best avoided. Instead, shape the beds so the furrow between them runs to the channel. The water then reaches the open drainage line without crossing a bed, which is where drainage and bed layout have to be designed together.
Constructing buried drainage lines, step by step
The sequence below is the one to hold a contractor to, in order.
- Peg the collector and laterals at the spacing chosen for the soil, and mark the outlet level.
- Open the trench to the design depth plus 150 mm for the envelope, keeping the walls as vertical as the soil allows.
- Check the bed grade with a level every 10 m before any pipe goes in, and correct high spots rather than bedding over them.
- Place a 50 to 100 mm gravel envelope on the bed, or use a geotextile sock over the pipe where gravel is scarce.
- Lay perforated pipe with perforations down, socket ends facing uphill, and keep the line straight between grade pegs.
- Join laterals to the collector at 30 to 45 degrees in the direction of flow, using manufactured fittings rather than cut-and-glue joints.
- Cover with the same gravel to at least 100 mm above the pipe, then backfill in layers and settle each layer with water.
- Finish the outlet with a headwall, a rodent screen and a clear fall so the pipe never discharges under the receiving water level.
Also, two details decide the life of the line. Because the envelope keeps fine soil out of the perforations, skipping it on a clay soil silts the pipe within two or three seasons. The outlet screen keeps rodents and debris out. A blocked outlet backs water up the entire system.
Keeping drainage lines working: outlets, silt traps and inspection
A silt trap sits where the collector meets the outlet, and nothing else in the system costs less to build. It is a lined sump 0.5 m to 1 m deep that the water crosses slowly. Sand and soil drop out there, before the pipe or channel carries them away. Clean it twice a season and after every major storm.
Inspection points matter on buried lines. Mark where the laterals join the collector with a stake or a small concrete marker, so a future plough or ripper does not cut the line. Take the depth of the collector and its route onto the farm plan the same week it is built.
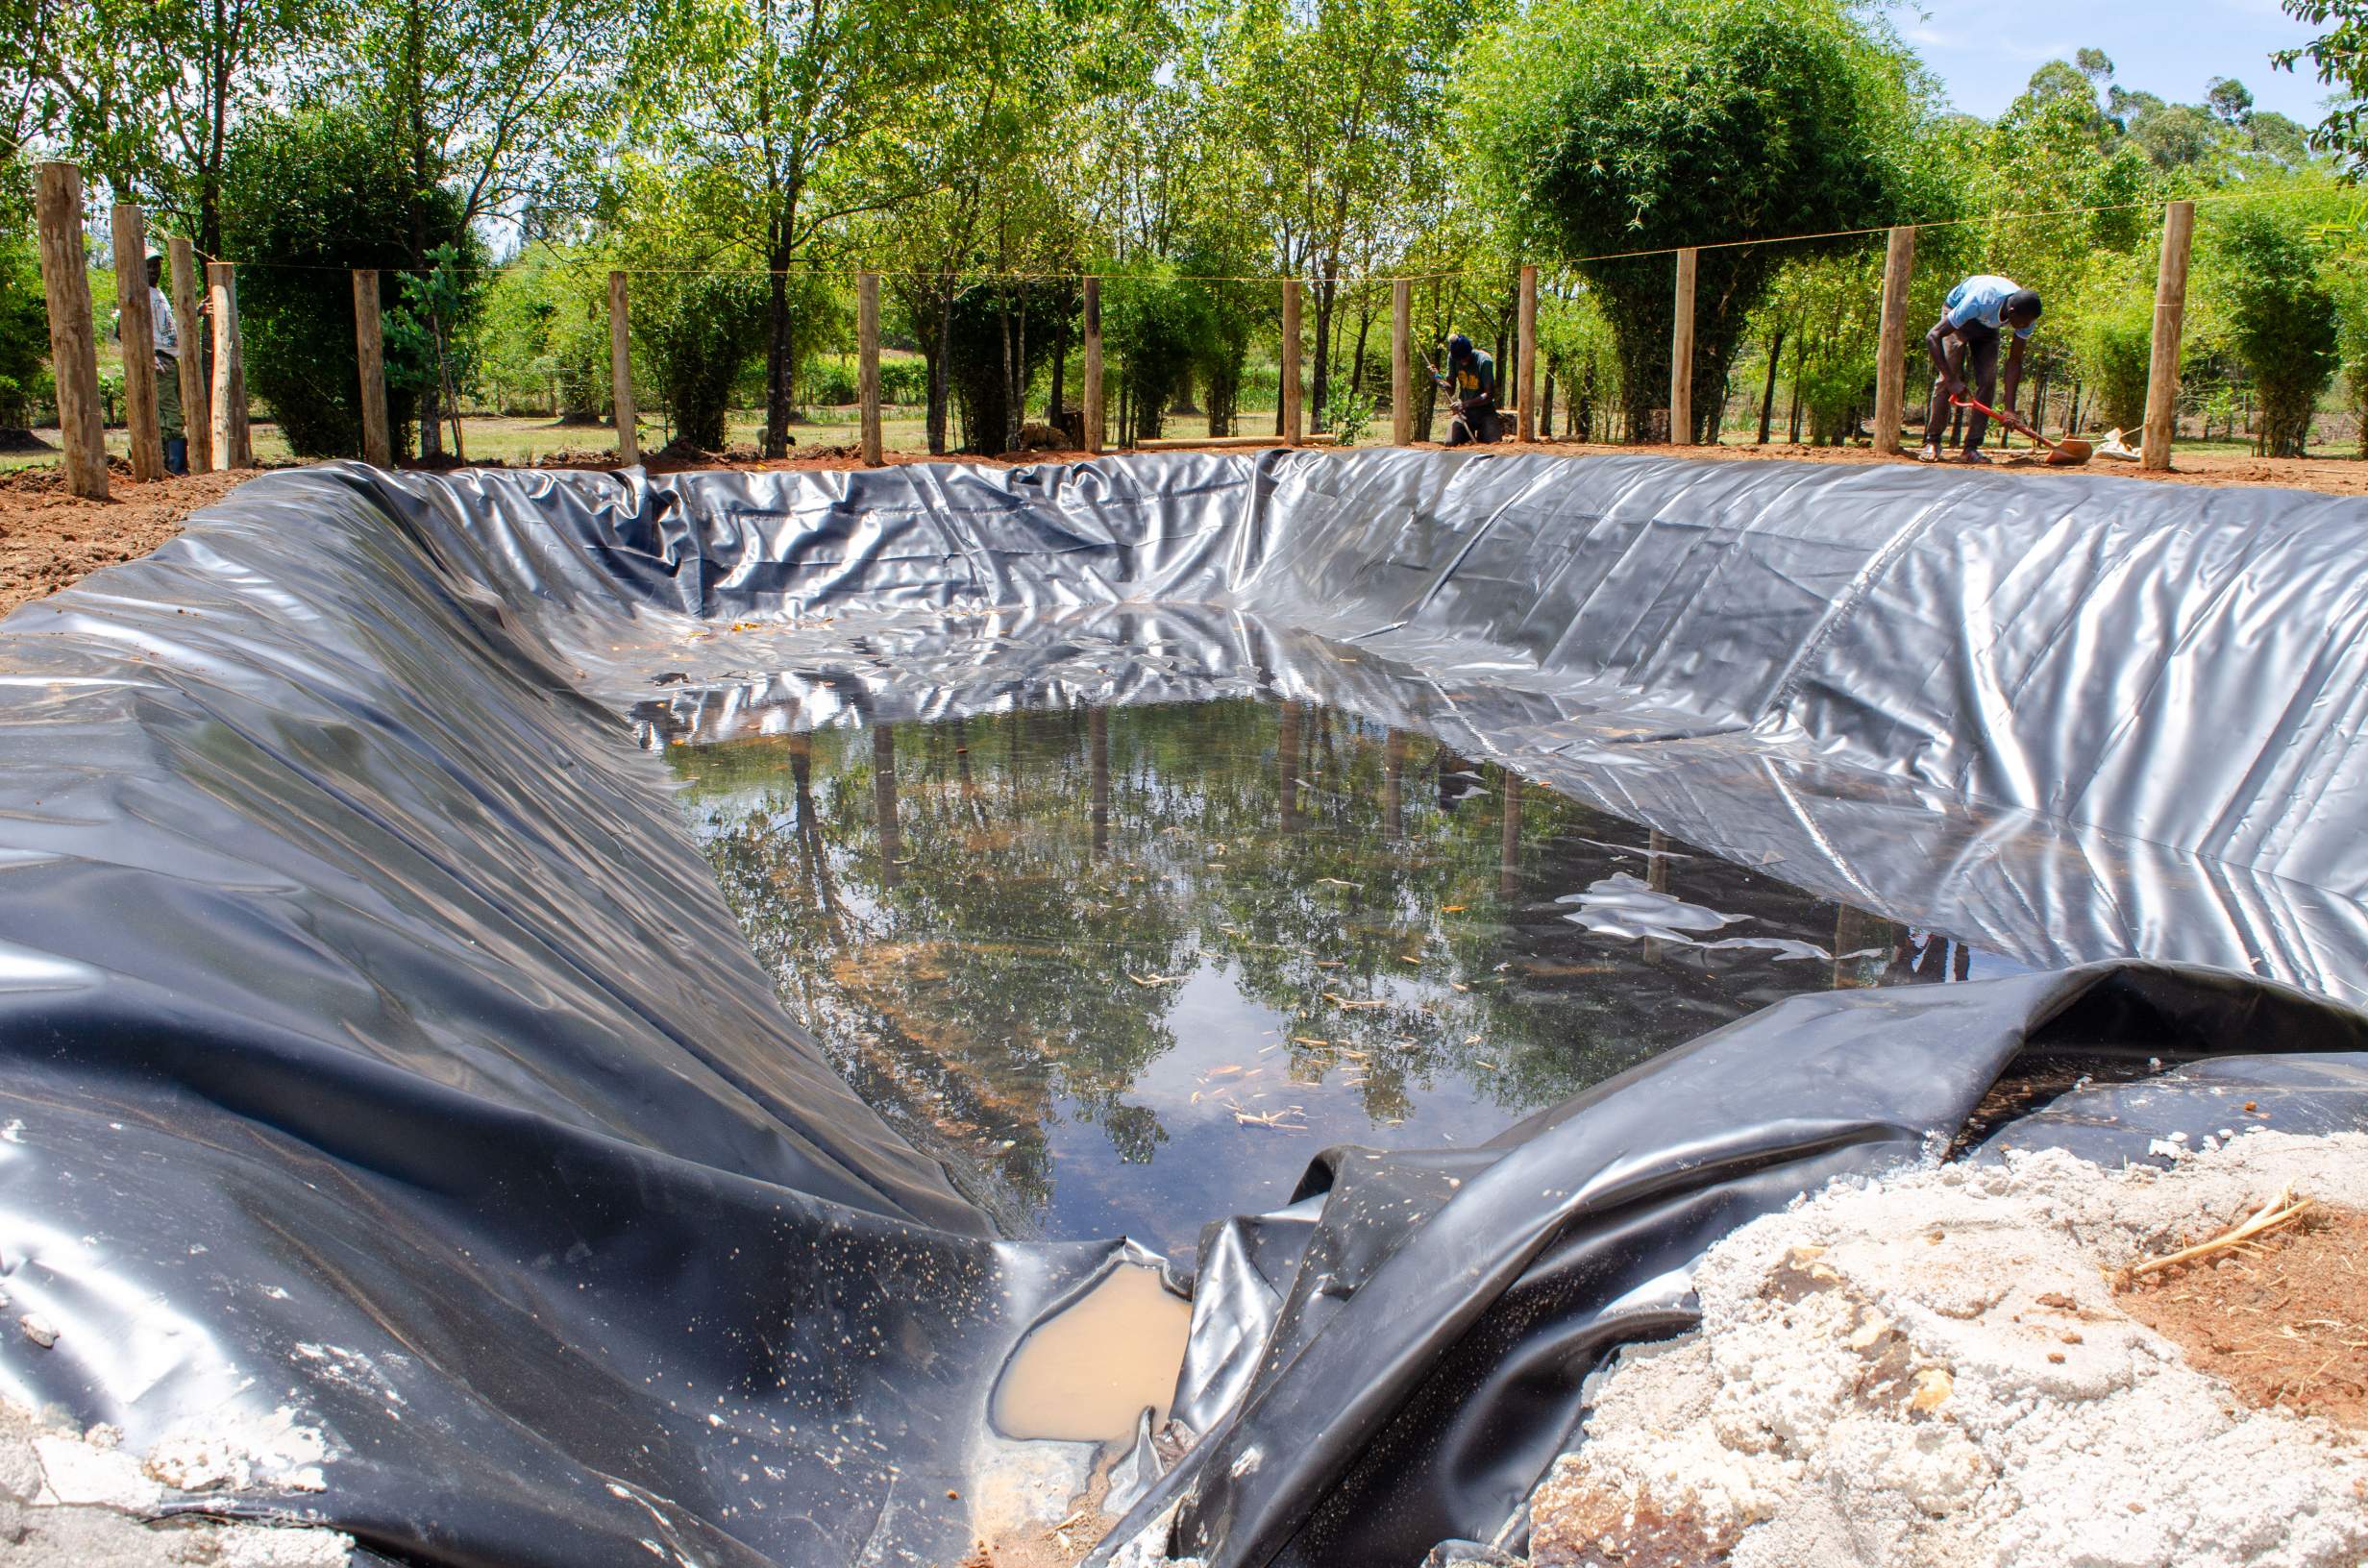
Finally, walk the system after the first heavy rain of the season, not before it. That is when a sag shows as a puddle, a blocked outlet shows as a backed-up channel, and a trench that was backfilled too loosely shows as a settled line along the surface.
Drainage lines on irrigated plots: salt, waterlogging and leaching
Because irrigation adds water on purpose, an irrigated plot needs drainage more than a rain-fed one. Every irrigation carries dissolved salts, and the water that evaporates leaves those salts behind in the root zone.
A drainage line gives the excess somewhere to go. Applying slightly more water than the crop uses, and letting the surplus leave through the drainage lines, carries salt below the root zone instead of letting it accumulate. Without that route, a clay plot under drip turns saline over several seasons. Yields then fall without any visible cause.
Similarly, the same lines protect the crop in a wet year. Roots in saturated soil cannot take up oxygen, and three days of standing water can cost a tomato or onion crop its root system. The irrigation methods guide sets out how drainage fits the wider water plan for a plot.
Mistakes that ruin drainage lines
In practice most failures come from four decisions taken early and cheaply.
- Laying a line flatter than 0.1% because the outlet was low, then wondering why the far end stays wet.
- Skipping the gravel envelope on a clay soil, which silts the perforations within a few seasons.
- Cutting the trench to a depth the outlet cannot serve, so the line holds water instead of moving it.
- Discharging below the receiving water level, which turns the outlet into an inlet in a flood.
- Leaving spoil on the uphill side of an open channel, so the first storm returns it to the bed.
Each of these is a survey and design fault rather than a construction fault. That is why the measurements in the first section carry the weight. Fixing them later means re-excavating a working field.
Frequently asked questions about drainage lines
How deep should a drainage line be?
For most field crops, 0.9 m to 1.2 m. The final figure comes from the outlet level, because a line has to reach the outlet at grade. A deep outlet allows a deeper line and a wider spacing, which lowers the cost per hectare.
What is the minimum fall for a drainage line?
About 0.1%, or one metre in a thousand, for buried pipe. Open channels take 0.2% to 0.5%. Below 0.1% the flow cannot carry silt, and the line silts from the far end until it stops working.
How far apart should drainage lines be?
On clay loam, 15 m to 21 m. On sandy loam, 60 m to 91 m. The gap follows how fast water moves through the soil. A hand texture test at the site is worth more than a general figure.
Do I need gravel around the drainage pipe?
On clay and silt soils, yes. A 50 mm to 100 mm envelope of washed gravel keeps fine particles out of the perforations. Where gravel is expensive, a geotextile sock over the pipe does a similar job at a lower volume.
Can I use ordinary PVC pipe for drainage?
Not as a substitute for perforated pipe. A solid pipe collects only at its open end, so it cannot draw water from the soil along its length. Perforated pipe, or pipe drilled in a controlled pattern, is what makes the line work.
How often should open drainage lines be cleaned?
Once before the long rains and once after them, plus a check after any storm that fills the channel. Silt traps are cleaned more often, because a full trap sends sediment straight down the line.
Drainage is the part of a water plan that only shows up in a bad season, which is why it is easy to defer. Pegging it with the drip system layout costs a day and saves a re-excavation later.