

Table of Contents
Land preparation is the step that decides whether a drip system runs evenly or starves the far end of the field. This guide explains how to prepare land for drip irrigation in Kenya, in the order the work actually happens on the farm. Also, it sets out the bed sizes, depths and soil tests that matter before anyone lays a metre of tape.
Most drip failures start in the soil rather than in the pipe. Sharp stones cut thin-walled tape once pressure arrives. Compacted layers hold water above the root zone. Uneven ground, in contrast, sends more water to the low side and less to the high side. For this reason, the field survey and the tillage plan come before the hydraulic design.
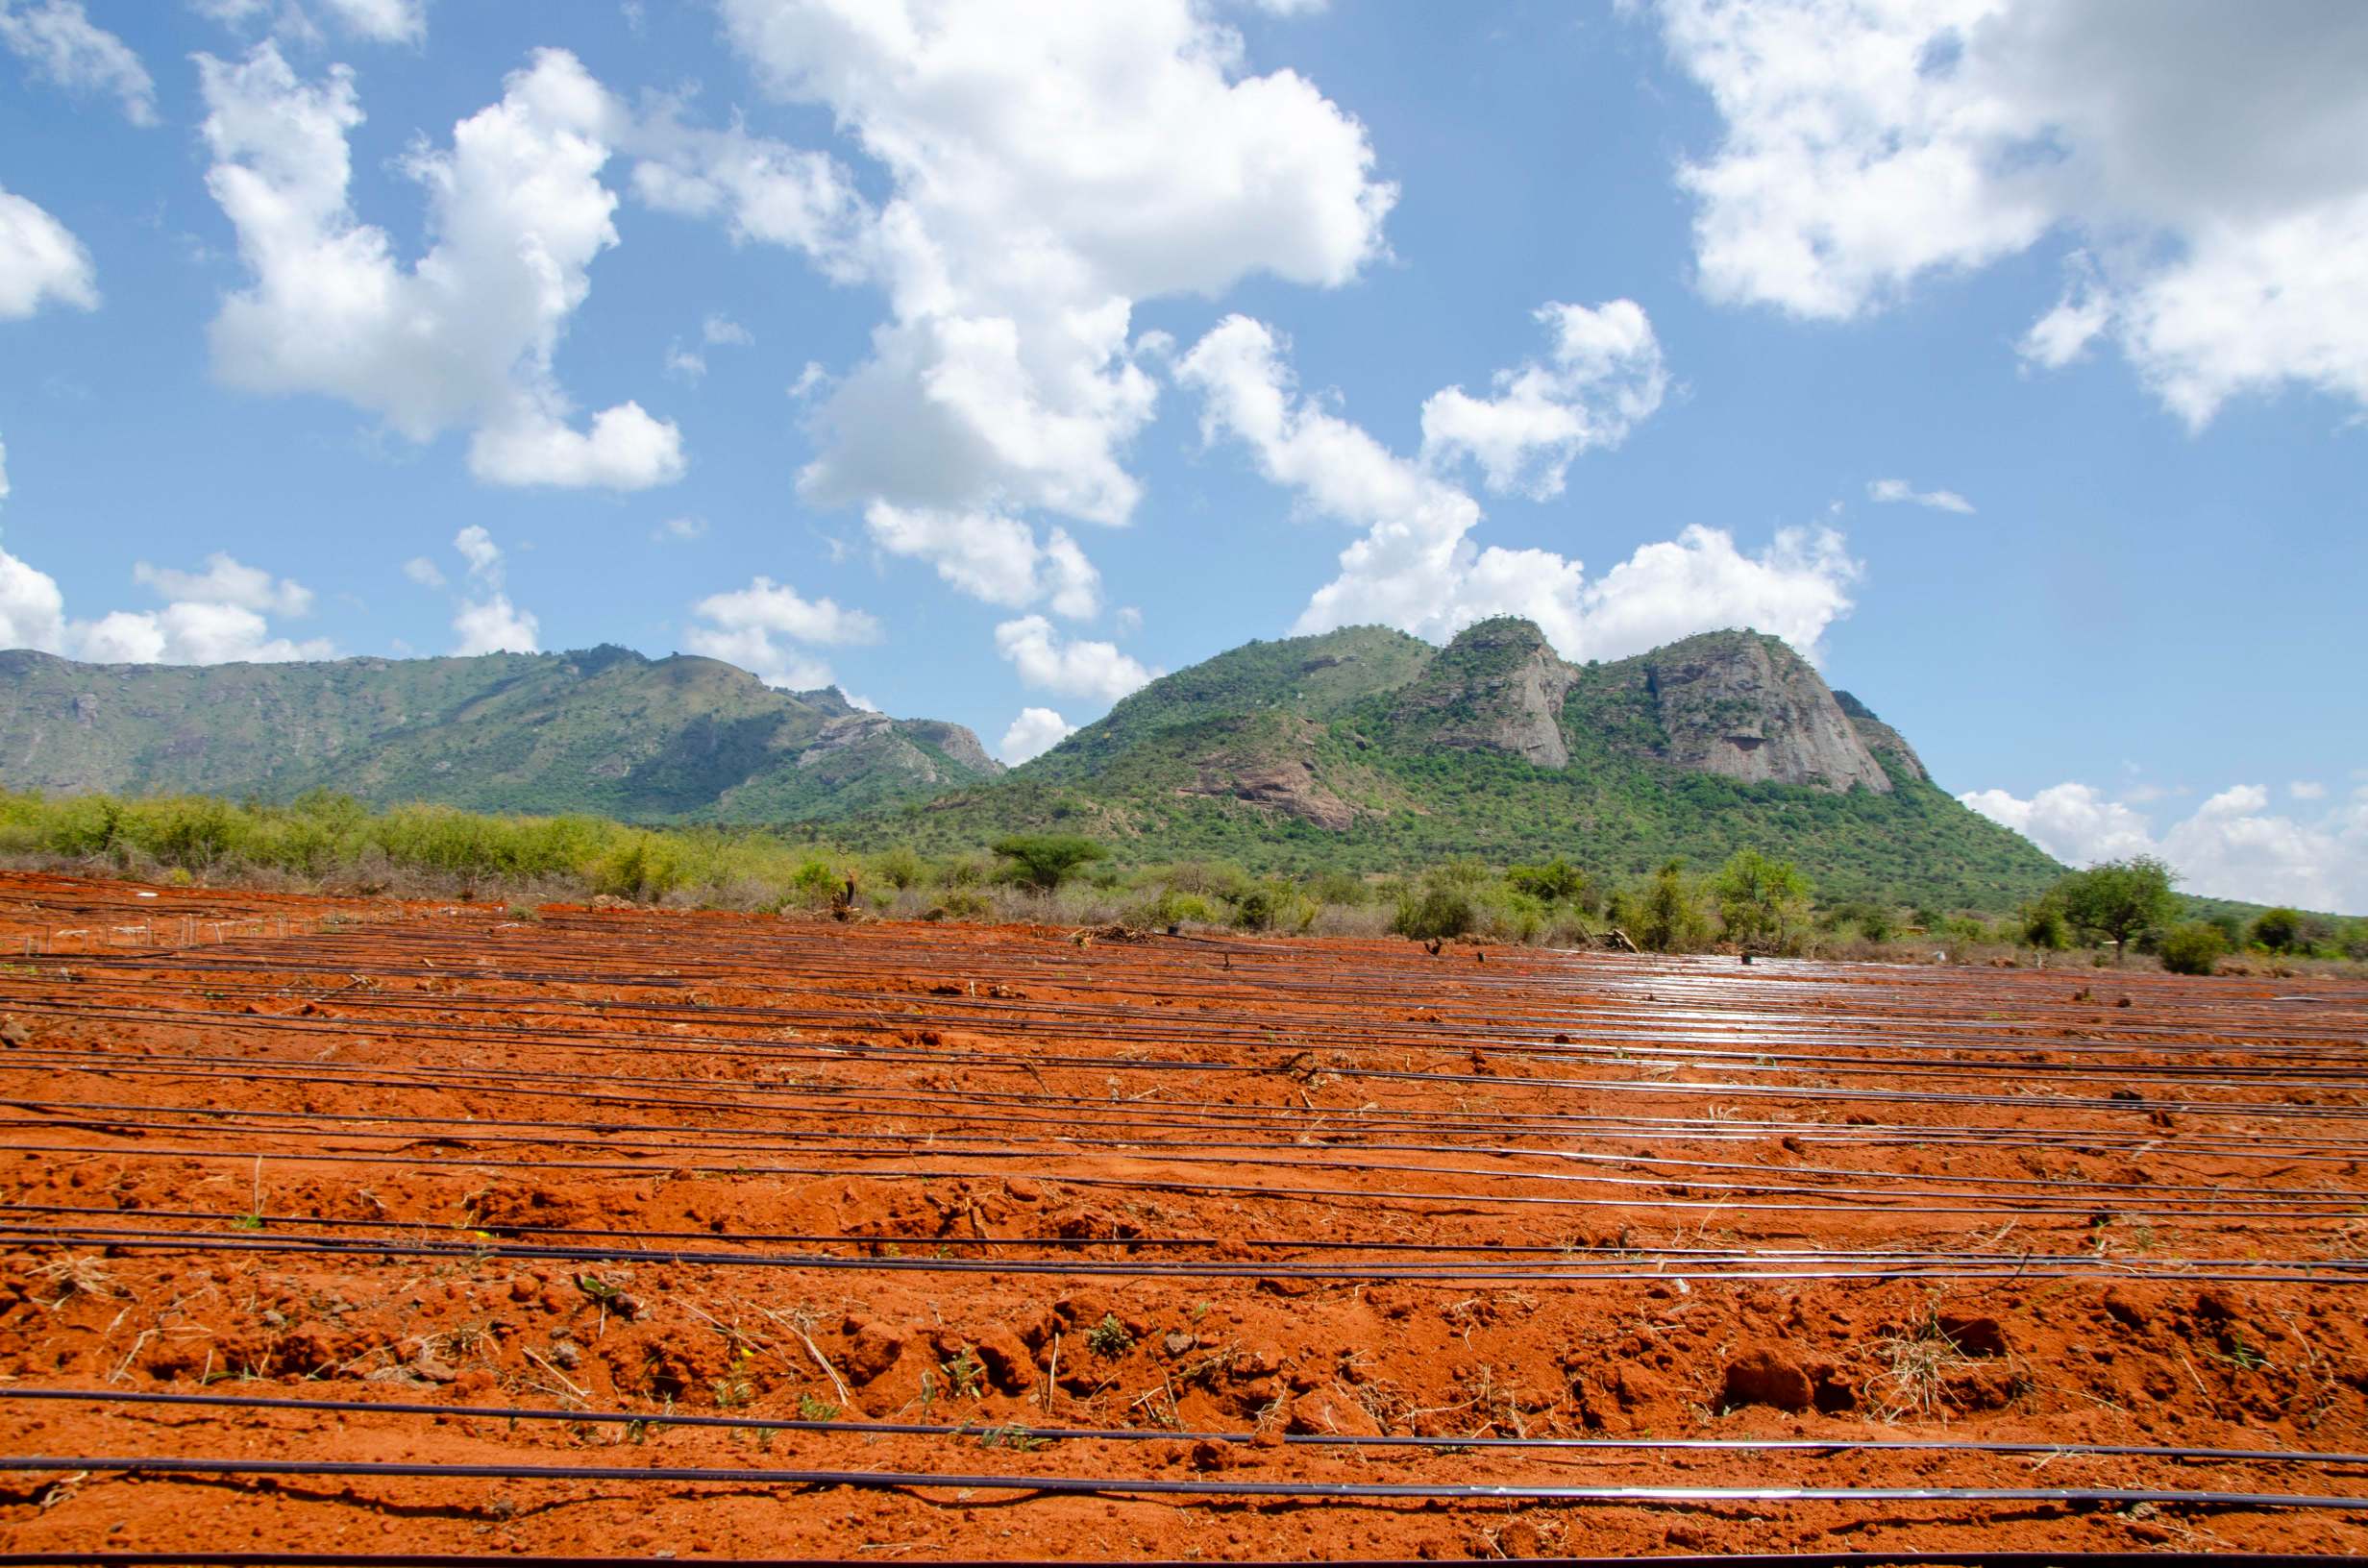
Why Land Preparation Decides How a Drip System Performs
How to prepare land for drip irrigation starts with the field itself, not with a shopping list of pipes and fittings. Drip tape delivers water at low pressure, and the margin for error is small. Because the margin is small, a difference in ground level turns into a visible difference in crop growth. A block that rises half a metre will overwater its low corner and underwater its high corner.
Surface condition matters just as much. Stones left in the topsoil press against the tape when the line fills. Furthermore, a rough seedbed leaves air pockets under the tape, which breaks the contact that moves water sideways to the roots.
Compaction is the third factor. Heavy machinery creates a hardpan below plough depth. Water then sits above that layer, and roots stay shallow. Consequently, deep tillage is not a luxury on worked land.
How to Prepare Land for Drip Irrigation on Land That Has Been Worked for Years
Old farmland needs one extra pass that new land does not. A subsoiler runs below the plough layer to crack the hardpan, and it is fitted before the beds are marked. In practice, this single pass is the difference between a root zone that drains and one that stays wet for days.
Test the depth first. Push a spade into the soil after a dry spell, and look for a tight layer that stops penetration. If you find one, the subsoiler goes in before any other tillage.
How to Prepare Land for Drip Irrigation in Seven Steps
The seven steps below follow the order a field crew works. Each one is part of how to prepare land for drip irrigation, and none of them can be skipped. In practice, steps three to six can run within one week, once the soil is at the right moisture.
| Step | What you do | Why it matters |
|---|---|---|
| 1 | Clear vegetation, stumps and stones | Sharp stones puncture tape, and roots block tillage |
| 2 | Test soil texture and chemistry | Sets emitter spacing, filtration and lime or manure rates |
| 3 | Plough to 30–40 cm, along then across | Breaks compaction and buries weeds and organic matter |
| 4 | Harrow and rotavate to a fine tilth | A clod-free seedbed keeps the tape flat on the ground |
| 5 | Level and grade the field | An even head keeps pressure uniform across blocks |
| 6 | Form raised beds and stake the layout | Straight beds and set paths speed up installation |
| 7 | Trench sub-mains 50–60 cm deep | Buried pipe survives tractors, tools and sunlight |
Two of these steps cost little and prevent most callbacks. Specifically, destoning protects the tape, and levelling protects pressure uniformity. Both are cheaper before installation than after.
Step 1: Clear and Destone the Field
Start with what is above and inside the soil. Clear brush, felled trees, stumps and deep root mass from the area that will be cultivated. Then gather large rocks and sharp debris and take them off the field.
This step also controls rodents. Rats and moles chew drip tape, and they nest in nearby bush. Therefore, clear the field margins and keep the surrounding vegetation short.
Step 2: Test the Soil Before You Till
A soil test settles three decisions at once. First, texture decides emitter spacing, because water moves down quickly in sand and spreads sideways in clay. Second, chemical analysis sets lime, manure or basal fertiliser rates. Third, the same result tells you how fine the filtration has to be.
Take samples before primary tillage. Apply corrections during the first ploughing, so they are mixed into the root zone instead of left on the surface.
Step 3: Plough Deep, Along and Across
Plough to a depth of 30–40 cm with a disc or mouldboard plough. On land that has been under heavy machinery, follow with a subsoiler to break the hardpan. This opens the profile, so water from the tape drains instead of waterlogging the roots.
Direction matters too. Plough along the field on the first pass and across it on the second. This exposes weed seeds and soil organisms to sunlight, and it levels the surface as a side effect. That is the pass that matters most when you prepare land for drip irrigation on old farmland.
Weeds then germinate in the warmth. When they do, spray the recommended herbicide on the advice of a qualified agronomist. After that, a final pass buries the dead plants, which rot and return nutrients to the soil.
Step 4: Harrow and Rotavate to a Fine Tilth
Drip tape has to lie flat. Harrow the ploughed field with a disc harrow to break the large clods. Next, run a rotavator to work the soil into a fine, crumbly tilth.
A smooth seedbed has two effects. It removes the air pockets that interrupt capillary movement, and it lets the tape sit on undisturbed soil along its whole length. Similarly, it makes bed shaping faster and more accurate.
Step 5: Level the Field so Pressure Stays Even
Level the field with a scraper or grader before any layout is marked. Remove the high spots and fill the low ones, because each of them becomes a pressure zone later. Of all the steps, this is the one crews rush, and it is the one you cannot fix later without digging up beds.
On sloping land, do not try to flatten everything. Instead, keep the slope uniform, and plan the lines to follow the contours instead of running straight up the slope. As a result, the pressure difference between the top and bottom of each block stays manageable.
Step 6: Form the Beds and Stake the Layout
Stake the layout first. Mark where the mainline, sub-mains and block valves will sit, using the hydraulic design rather than the shape of the field.
Then form the beds. A width of 0.8–1.0 m suits most short-season crops, while perennials such as herbs often grow on beds up to 1.5 m wide. Raise the beds 15–20 cm and work the bed body to 12–30 cm, so roots have loose soil to explore. Likewise, keep pathways at 30–50 cm, which leaves most of the field under cultivation and still lets workers and sprayers move. In short, this is the stage where how to prepare land for drip irrigation stops being a plan and becomes a layout on the ground.
Step 7: Trench the Sub-Mains Before You Lay Tape
Trench the sub-mains before the tape goes down. Dig straight trenches along the edge of each block, at least 50–60 cm deep.
Burial protects the plastic from tractor tyres, hand tools and sunlight. Also, buried pipe holds a steadier temperature and is less likely to be knocked during weeding.
How to Prepare Land for Drip Irrigation on Sloping Ground
Slope is not automatically a problem. However, it must be measured rather than estimated. A pipeline that crosses a rise and then falls will trap air at the crest, which is why air release valves are placed after the survey.
Where the slope is steep, contour beds or terraces reduce the level difference inside each block. Then emitter flow stays close to the design figure, and the low end does not flood.
How to Prepare Land for Drip Irrigation by Soil Type
Texture changes the preparation, not the principle. The aim is always a level, stone-free, uncompacted root zone with even moisture.
| Soil | What happens under drip | What to do during preparation |
|---|---|---|
| Sandy | Water moves down fast and spreads little | Closer emitter spacing, and organic matter to hold water |
| Loam | Even spread and good retention | Standard spacing, and a fine tilth is enough |
| Clay | Water spreads wide but drains slowly | Wider emitter spacing, and avoid compacting wet soil |
| Compacted subsoil | Water sits above the hardpan | Subsoil first, then deep tillage before beds |
Sandy and clay soils then need different schedules. Therefore, check moisture by hand before each irrigation and adjust the hours, rather than following a fixed calendar.
What to Do After You Prepare Land for Drip Irrigation
Once the field is level and the beds are formed, the next step is the hydraulic design. The order matters, because how to prepare land for drip irrigation sets the block sizes and the run lengths that the design has to respect. Pipe sizes, block sizes and pump duty all follow from the prepared field, not the other way round. Our drip irrigation system in Kenya page sets out what the design covers.
Then cost the system against the field you have prepared. See the cost of a drip irrigation system in Kenya for the components that drive the budget. If the water source sits far from the field, compare a solar irrigation system with grid or diesel on the pump for drip irrigation page.
Order the tape last. Measure the row length and the bed count first, then buy drip tape and air release valves to match. Keep the unblocking clogged drip emitters guide for the first season, because fine soil particles settle in new lines.
The FAO irrigation water management manual covers the wider family of application methods if you want to compare drip with furrow or sprinkler.
Frequently Asked Questions About How to Prepare Land for Drip Irrigation
These are the questions farmers ask most often before a survey.
When should I prepare land for drip irrigation?
Start at least two weeks before installation. That gap lets weeds germinate after the first ploughing, so they can be sprayed and buried before the tape is laid. If the farm has heavy soil, allow three weeks so the final tilth dries to the right moisture.
How deep should beds and trenches be?
Work the bed body to 12–30 cm and raise it 15–20 cm. Trenches for sub-mains should be 50–60 cm deep.
Do I really need to remove stones?
Yes. Sharp stones puncture thin-walled tape once the line is pressurised, and repairs cost more than destoning.
Can I prepare land for drip irrigation on a slope?
Yes. Keep the slope uniform, lay lines along the contours, and fit air release valves at the high points.
What bed width should I use?
Use 0.8–1.0 m for most short-season crops and up to 1.5 m for perennials, with pathways of 30–50 cm.
Does preparation change emitter spacing?
It does. Sandy soil needs closer spacing because water moves down, while clay spreads water wider.
Book a Land Preparation and Drip Design Visit
We survey the field, test the soil and set the layout before quoting the system. Therefore, the design matches your ground and your water source rather than a standard package.
Call Eunidrip Irrigation Systems to book a visit, or read the advantages and disadvantages of a drip irrigation system first. For a crop example, see how the same preparation works in tomato farming in Kenya using drip irrigation. How to prepare land for drip irrigation is usually a two-week job when the weather holds, and it is the cheapest part of the whole project.