

Table of Contents
Greenhouse installation in Kenya runs through seven stages, and each stage settles a decision the next one depends on. Skip the planning stage and site selection has no criteria. Skip site selection and the layout cannot be pegged. The seven stages below run from the first farm walk to the day the cover goes on. Work through them in order and the build stops surprising you. Because every stage leaves a written record, the full set also gives a contractor one clear brief to quote against.
- Stage 1 – Planning and setting
- Stage 2 – Site selection
- Stage 3 – Legal considerations and permits
- Stage 4 – Site layout
- Stage 5 – Design
- Stage 6 – Orientation
- Stage 7 – Installation and setting
This page covers the planning sequence. For the build sequence itself, the step by step guide to greenhouse construction in Kenya takes over once the drawings are signed.
The Seven Greenhouse Installation Stages at a Glance
| Stage | Decision it settles | What it costs if skipped |
|---|---|---|
| 1 Planning | Crop, size, project life, market | A structure sized for the wrong crop |
| 2 Site selection | Light, water, slope, wind, access | A house that is shaded, wet or hard to reach |
| 3 Legal and permits | Zoning, setbacks, licence classification | Stop-work orders and demolition risk |
| 4 Site layout | Roads, headhouse, stores, expansion | Rebuilding access after the frame is up |
| 5 Design | Span, gutter height, ventilation, film | Heat build-up and early film failure |
| 6 Orientation | Long axis, ridge line, glazing angle | Uneven light and blocked airflow |
| 7 Installation | Foundations, hoops, purlins, cover | A sagging frame and a leaking roof |
Greenhouse Setting and Installation Planning Stage
Planning is the stage where greenhouse installation is won or lost. It is cheap, it happens at a desk, and it removes most of the expensive surprises later. First, fix the crop. The crop sets the span, the gutter height, the ventilation area and the shade requirement. Next, size the structure against the market you can actually reach, not against the land you happen to own.
Then decide the life of the project. A unit built for three tomato cycles needs a different frame from one meant to last fifteen years. Answer five questions in writing before you call a contractor:
- Which crop, and how many cycles per year?
- How much of the land goes under cover now, and how much later?
- Where will seedlings be raised?
- Who buys the produce, and at what grade?
- What is the all-in budget, including water and power?
Because a greenhouse installation plan is also a budget document, list the film, hoops, fixing accessories and irrigation lines as separate items. The cost of greenhouse in Kenya page carries the price bands that each item falls into.
Greenhouse Installation Site Selection
Site selection decides how much performance you get for free. A good site cuts your heating, cooling and pumping bills for the life of the structure. First, walk the plot at three times of day and watch where the sun lands. A greenhouse needs direct light all year, so trees, walls and neighbouring buildings matter more than they look on a map.
Next, confirm water. Greenhouses run entirely on irrigation, so volume and quality both count. Ask how the source behaves in February, not in May. Then check the slope and the soil. A level, stable site saves on levelling and on foundations, and it keeps benches, gutters and drainage simple.
Wind is the factor most often ignored. A steady wind strips heat from the structure and strains the cover. In practice, a windbreak that halves wind speed will noticeably cut heat loss. Leave room for it, and leave clearance so it does not shade the roof.
Finally, price the access. Road, power, labour and market all sit inside the decision. Buy land larger than the first phase, because a greenhouse installation that cannot expand is a ceiling on the business. Growers building near a town can check greenhouse construction in Ol Kalou for a worked example of site choice.
Legal Considerations During Greenhouse Installation and Setting in Kenya
Legal checks come before money leaves your account. County zoning sets the use, the setbacks, the side yard distances and the parking space a site must provide. The zoning officer will confirm the rules for your plot, so book that conversation early and keep the reply. Some sites near schools, hospitals or homes carry extra conditions on drainage and on pesticide use.
Environmental approval is the second check. Under the Environmental Management and Co-ordination Act, NEMA administers environmental impact assessment and issues the licences that go with it. Whether a greenhouse project needs a licence depends on its size and location, so confirm the classification with NEMA and the county before ground is broken. Then add workplace safety: staff will work at height, handle agrochemicals and run machinery.
For the wider picture on structures and contractors, see greenhouse construction in Kenya.
Site Layout in Greenhouse Installation and Setting
Layout is the stage that decides how the farm feels to work in for the next decade. Start with a survey of what already exists: the shed, the water tank, the track, the power line. Then draw a master plan that places every facility on purpose rather than by accident.
A workable plan covers six things:
- Propagation houses, kept close to the headhouse
- Production houses, spaced for airflow and for machinery
- The headhouse, where grading, packing and storage happen
- Input stores, dry and lockable
- Parking and turning space for deliveries
- The next block of houses, marked but not built
Then check the movement. Every load should travel a short, straight path from house to headhouse to truck. Because a bad turn costs time on every harvest, test the route with a loaded pickup before the frame goes up. For a large scheme, the 10 hectare greenhouse cost breakdown shows how layout choices move the total.
Greenhouse Installation and Setting Designing
Design turns the plan into a structure someone can build. The span and the bay length set the frame. The gutter height sets headroom and the volume of air above the crop. In a Kenyan climate, air volume is the cheapest cooling you will ever buy, so do not shave the gutters to save steel.
Next, size the ventilation. Ridge vents, side vents and roll-up curtains all move heat out, and insect net decides how much of that opening you can leave. Then specify the cover: film thickness, UV treatment and the fixing system that holds it. A cover that flaps will fail at the fixing line long before the film itself wears out.
Finally, put the design in writing. Drawings, a bill of quantities and a load calculation should be signed off before fabrication starts. That package is what a contractor prices, and it is what protects you when the roof sags in the second season.
Greenhouse Orientation
Orientation is fixed at design stage, and it cannot be changed later without moving the structure. The standard choice is an east-west long axis, with the gable ends facing north and south. Sunlight then enters along the roof slope for most of the day, and the frame ribs cast less shadow on the crop.
For a single span, that rule is usually enough. For a multi-bay block, the ridge line, the gutter and the glazing angle all interact, so the orientation has to be tested against the prevailing wind as well. A block that faces the wind will ventilate well and load badly, and the frame has to carry both.
Extension guidance on greenhouse ventilation and temperature control covers the trade-off in more detail. When the two conflict, favour airflow in the hot months and add bracing for the wind.
Greenhouse Installation and Setting
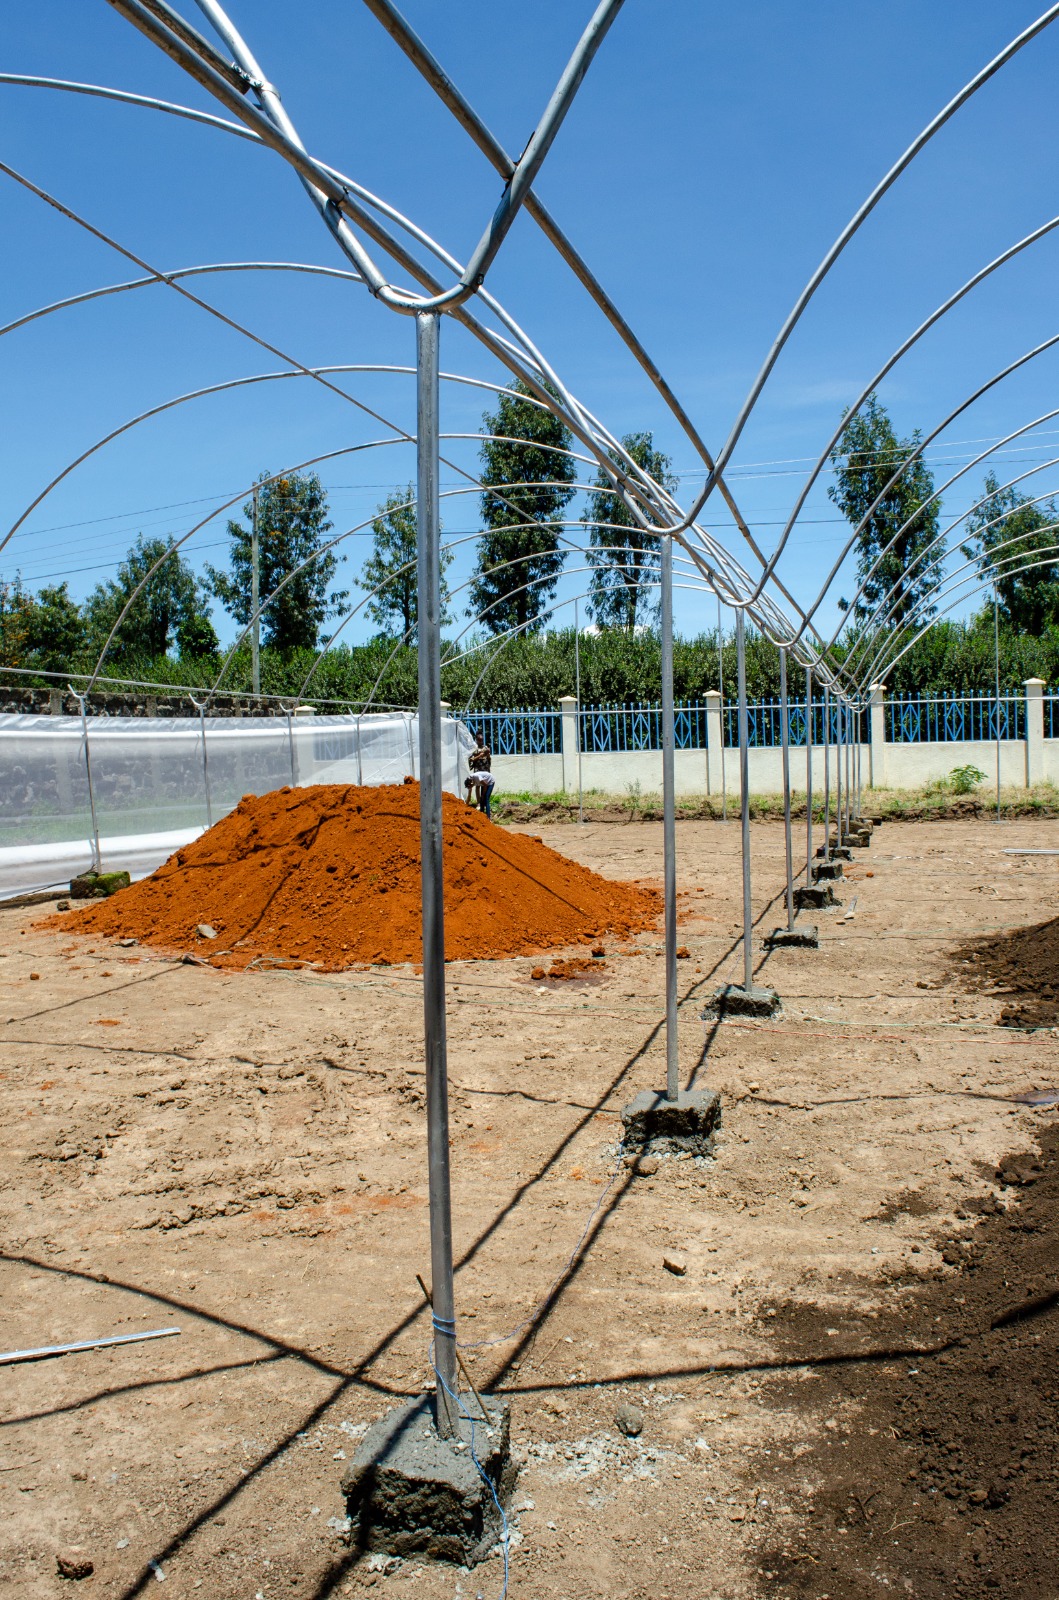
Installation is the stage everyone remembers, because it is the one that shows. It starts with pegging the layout that was drawn in stage four. Then the crew sets foundations, and the hoops go up on them. Purlins and bracing follow, and the frame is checked for plumb before any film is unrolled.
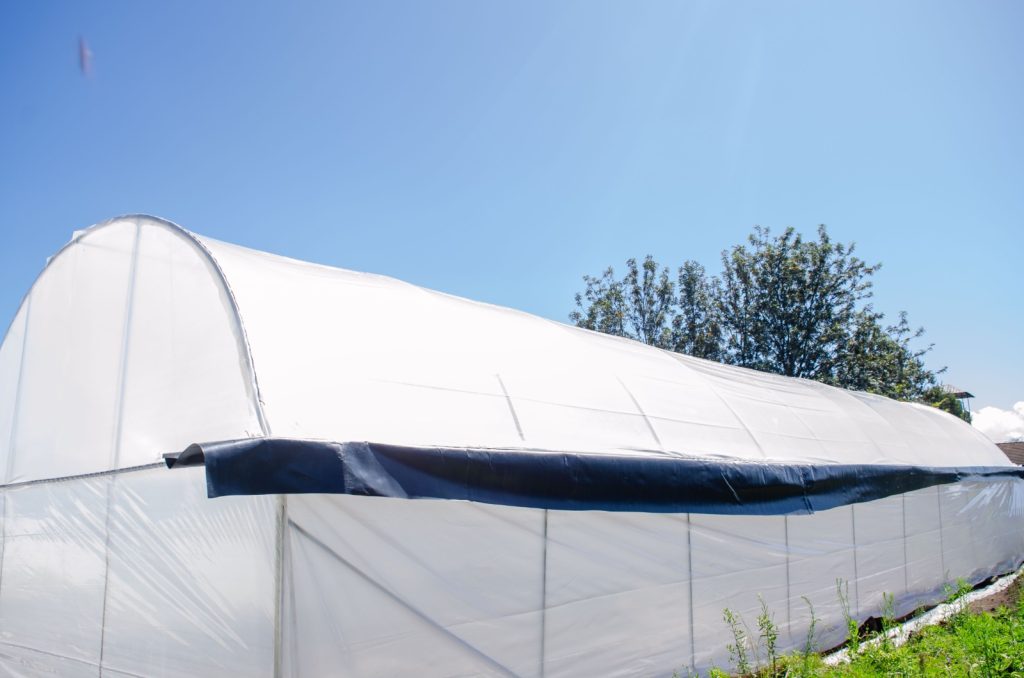
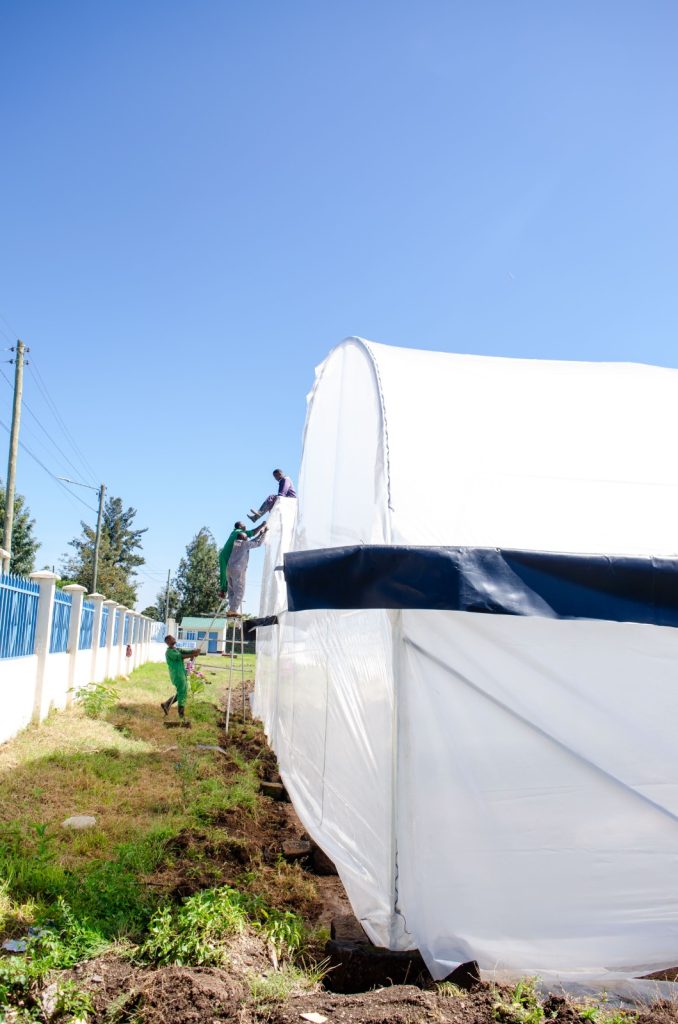
The cover goes on in calm weather, working from the leeward side. Next come the fixing profiles, the doors, the gutters and the insect net on the vents. Every fixing point is a future leak, so the crew should walk the cover and test each one. A greenhouse installation in Kenya that is rushed at this step will show it in the first heavy rain.
Finally the services go in: irrigation mains, drip lines, benches, the tank and the electrical panel. Then commission the house empty for a week. Watch temperature, airflow and water pressure before the first seedling arrives. Once the structure is up, the film, profiles and fixing accessories are listed on the shop, where you can compare greenhouse prices in Kenya before ordering replacements.
At Eunidrip our technicians work through all seven stages with the grower, from the first farm walk to commissioning. Bring the plan, the site and the budget, and we will tell you which stage to fix first.
Frequently Asked Questions About Greenhouse Installation in Kenya
How long does greenhouse installation take? It depends on the number of bays and on whether materials are on site. Frame work and covering run in days for a single unit, while a multi-bay block runs in weeks.
Do I need a licence before I start? It depends on the size and location of the project. Confirm the classification with NEMA and the county before ground is broken, and keep the written reply.
Can a greenhouse go on sloping ground? Yes, but the slope must be cut into terraces, and the hoops will sit at different heights. A level site avoids that cost entirely.
Which way should the structure face? An east-west long axis suits most sites, with gables facing north and south. On a windy site, test the airflow gain against the wind load.
Is drip irrigation required? Greenhouses run on irrigation, and drip lines are the standard because they deliver water evenly and keep the foliage dry.