

A simple drip kitchen garden is the smallest setup that still waters every bed evenly: one gravity line, one zone, and a handful of parts. You do not need a pump, a controller or a bank of valves to grow vegetables well. This page strips the system down to what a small plot actually uses, names the nine stocked parts, and shows what you can safely leave out.
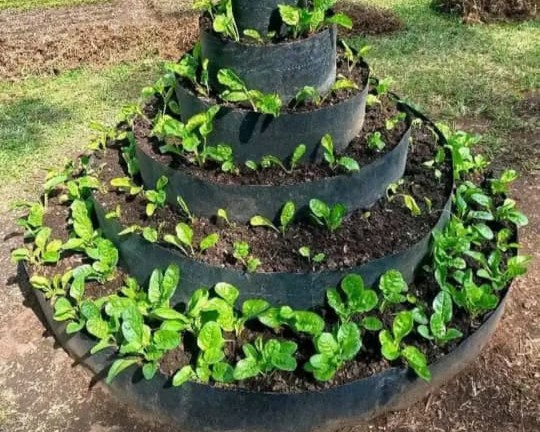
What Makes a Simple Drip Kitchen Garden Simple
Simplicity here means fewer decisions, not less water. A simple drip kitchen garden keeps one pressure source, one filter and one set of laterals, so there is nothing to balance between zones. Therefore a beginner can fault-find it in minutes: if a bed is dry, the blockage is on that bed’s line, not in a controller program.
The trade is flexibility. One zone waters every bed on the same schedule, which suits a mixed kitchen plot because most vegetables want similar moisture. However thirstier crops can still get extra water by hand at the base. In practice simplicity buys reliability: fewer joints mean fewer leaks.
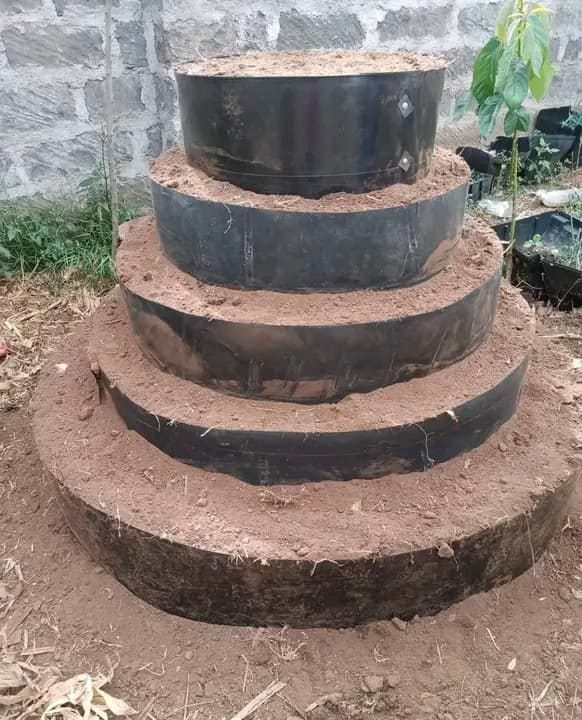
The One-Zone Rule for a Simple Drip Kitchen Garden
Run every lateral from a single 16 mm mainline with no zone valves splitting the plot. One zone means one on/off tap, so watering is a single daily action instead of a sequence. Consequently the whole garden wetts in one run of 20 to 30 minutes, and you never forget a zone.
Group crops by thirst only if you must. Because most kitchen leaves and fruiting crops accept the same run, a single zone rarely stresses any of them. Moreover a single zone keeps the parts list short: you skip the manifold and the extra valves entirely.
Gravity Head: Skip the Pump
Drip tape works at low pressure, so a raised tank or bucket gives enough head without a pump. Lift the store 1 to 2 m above the beds and gravity pushes water through every emitter. Therefore the simple setup has no motor, no power bill and nothing to burn out.
Head matters more than volume. A 200 litre store at 1.5 m height waters a small plot for a day; the same store on the ground barely drips. Consequently spend effort on a stand, not on a bigger tank. However keep the stand stable, because a falling store is the one real hazard of gravity setups.
Build the stand from posts and a platform, or stand the store on a block bench. Because the store is heavy when full, set the base level and brace the legs. Therefore a 200 litre store sits safe at head height without a steel tower.
The Nine Parts a Simple Drip Kitchen Garden Needs
Count the parts before buying: a store and stand, a mainline, a screen filter, one starter connector per bed, drip tape per row, end plugs, one tap, and a ball cork for the store. That is the whole simple drip kitchen garden; each item below maps to a stocked product.
Nothing on that list is optional except the ball cork, which only matters if you fill the store from a tap. Because every part is a standard size, replacements are cheap and local. In practice you can assemble the setup in an afternoon with two spanners and a punch.
Laying One Lateral per Bed
Lay one drip tape line down each bed, fed from the mainline at the bed head. Keep beds 1 m wide and space the tape emitters 30 cm apart, so one line wetts the whole row. Then punch a starter connector at each take-off and push the tape on until it seats.
Flush before closing the ends. Open the tap and let water run out of each lateral tail for 60 seconds, then fit end plugs so pressure holds. Therefore grit leaves the line before it can block an emitter. Finally check each bed wetts a hand-width either side of the tape.
What You Can Leave Out
A simple setup omits the pump, the timer, the manifold and the extra zone valves. It also omits pressure regulators, because gravity head is already low enough for tape. Consequently the parts count drops by half compared with a full garden system, and so does the fault list.
Keep the filter, though. Because gravity flow is slow, grit settles in emitters faster than in a pumped line, so a screen at the outlet is the one part you must not skip. Moreover keep end plugs; an open tail loses the pressure that makes the far end drip.
| Element | Simple setup | Full garden system |
|---|---|---|
| Pressure source | Gravity store, 1 to 2 m head | Pump or mains pressure |
| Zones | One, single tap | Two or more, valve manifold |
| Control | Hand tap, daily habit | Timer or controller |
| Pressure regulation | None needed at gravity head | Regulator per zone |
| Filter | One screen at the outlet | Screen plus zone filters |
| Emitters | Tape per row | Tape plus drippers per plant |
The simple setup keeps the filter and the tape; everything else is optional at small scale.
Watering Schedule on a Simple Setup
Water once a day for 20 to 30 minutes in the cool morning, and adjust by feel. Because there is one zone, the schedule is a single habit, not a program. Therefore check the soil 5 cm down: if it is moist, skip a day; if dry, run longer.
Season changes the run, not the setup. In cool weeks shorten the daily run; in hot dry weeks lengthen it or add the dusk run. Consequently the same one-zone setup serves the whole year without new parts.
The Shop Table for a Simple Drip Kitchen Garden
Each part of the simple drip kitchen garden maps to a stocked product below; every linked page carries its own sizes and price. You build the stand on site and buy the tank elsewhere, which is why that row has no product link.
| Simple-setup part | What it does | Stocked part |
|---|---|---|
| Store and stand (any setup) | Gravity head | – |
| Mainline from the store | Feeds every bed | Irrigation pipes |
| Screen at the outlet | Keeps grit out | Screen filter |
| One take-off per bed | Sealed branch | Starter connector |
| One tape line per bed | Wets the full row | Drip tape |
| Close each lateral tail | Holds pressure | End plugs |
| Single on/off tap | One-zone control | Drip valve |
| Optional emitter per pot | Even share per plant | Adjustable button drippers |
| Optional gentle seedbed wetting | No seed wash | Rain hose |
| Stop store overflow | No wasted water | Ball cork |
Nine stocked parts plus the off-site store; the two optional rows suit pots and seedbeds.
Frequently Asked Questions: Simple Drip Kitchen Garden
How many parts does a simple drip kitchen garden need?
Nine stocked parts plus a store and stand: mainline, filter, starter connectors, tape, end plugs, one tap, a ball cork, and optional button drippers or rain hose. One zone, no pump.
Do I need a pump?
No. Drip tape runs at low pressure, so 1 to 2 m of gravity head from a raised store is enough. A pump only adds cost and a failure point.
How high must the tank sit?
About 1 to 2 m above the beds. That head pushes water through every emitter; a store on the ground barely drips, so build the stand first.
Can one zone water different crops?
Yes. Most kitchen vegetables accept the same daily run. Give thirstier plants extra water by hand at the base rather than adding a zone.
What is the cheapest lateral option?
Drip tape. It is the lowest-cost row-length wetting and suits straight beds; use button drippers only for pots or rings where tape cannot lie flat.
When should I add a second zone?
When the plot grows past one tap’s flow, or when a crop group needs a clearly different schedule. Until then one zone is simpler and cheaper to run.
Start Simple, Expand Later
Build the one-zone setup first and crop a season on it. Because every part is standard, you can add a second zone or a timer later without replacing what you laid. Therefore simplicity is a starting point, not a ceiling.
Cost stays low because you buy only what waters the plot. In practice the nine parts cost a fraction of a pumped, zoned system, and the saving pays for seed and compost. Moreover nothing you buy now is wasted when you expand.
For the whole plot plan see our kitchen garden guide; for a full multi-zone design read drip irrigation systems in Kenya. For buying sizes and prices, use the checklist on our irrigation equipment suppliers page, or buy the whole small-plot set as a single kitchen garden drip kit. Method background sits in the Wikipedia entries on drip irrigation and kitchen gardens.