

Table of Contents
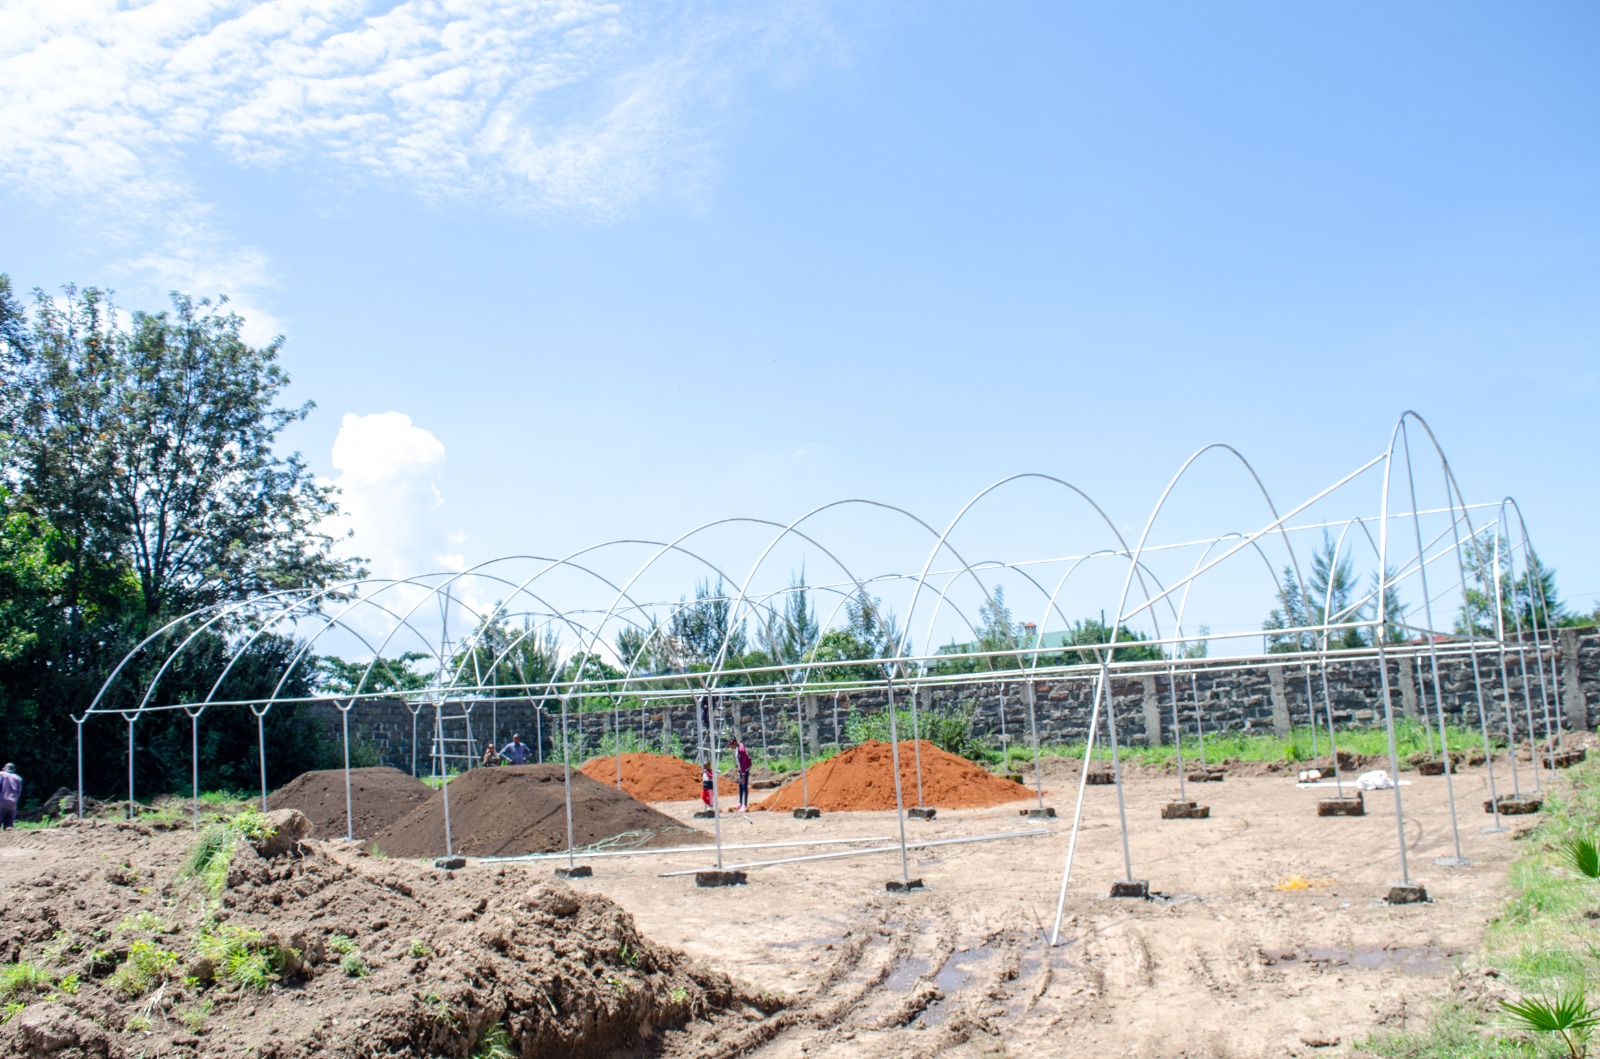
A greenhouse changes what a smallholder can plan for. Rain becomes a variable you manage instead of a season that decides your income. This guide covers greenhouse farming in Kenya from crop choice through to the first harvest. It assumes the structure is up, or close to going up. If you still have to build, our greenhouse construction guide covers the frame, the cover and the site. Here the subject is everything that happens inside.
What greenhouse farming in Kenya changes for a smallholder
Three things change the moment a crop moves under cover. First, the season stops being the limit. A well-sited house takes in about 6 hours of direct sun a day, which is enough for most vegetables all year. Second, the climate becomes adjustable. You hold daytime temperatures between 16 and 30 degrees Celsius, and overnight between 13 and 18. Third, pests become an access problem. A screened house keeps whitefly and thrips out without a weekly spray.
In practice, growers also report steadier quality. A tomato crop under cover does not split after an unseasonal downpour. Leafy greens stay clean and do not carry soil splash into the market bundle. That consistency is what buyers pay for, and it is the real reason a house earns back its cost. Most of the growers who succeed at greenhouse farming in Kenya are simply the ones who notice a change early.
The crops that pay under cover
Tomatoes remain the default because the market is deep and the price is known. Capsicum follows closely, since it holds a long picking window and travels well. Leafy greens turn over fastest and suit growers who need cash inside eight weeks. Herbs earn the most per square metre but punish careless watering. Greenhouse onion farming is a fourth option for anyone with a reliable seed source.
Crop choice is the first decision in greenhouse farming in Kenya, and the one most growers revisit. None of these crops will forgive a house that overheats. Match the crop to the ventilation you actually have, not to the crop that fetched the best price at the last market.
| Crop | Why it suits a house | Where it goes wrong |
|---|---|---|
| Tomato | Deep market, tolerates warm days | Poor fruit set when nights stay hot |
| Capsicum | Long picking window, firm fruit | Aphids gathering on new growth |
| Leafy greens | Fast cycle, quick cash | Bolting once daytime heat climbs |
| Herbs | High value per square metre | Root rot from overwatering |
| Strawberries | Premium price off season | Fruit rot when the air is still |
| Onion seedlings | Clean start, uniform stand | Damping off in a wet seedbed |
Seven proven steps for greenhouse farming in Kenya
The sequence below takes an empty house to its first harvest. Most growers who struggle skip a step and then spend a season fixing it.
Step 1: Prepare the ground and the water line
Level the floor and check the drainage before anything goes in. Water must run out of the house, not pool under the beds. Lay landscape cloth if weeds are a known problem. Run the main water line at this stage, because digging under a full house is far harder. The greenhouse installation stages guide sets out the order the trades should follow.
Step 2: Test the soil before you plant
Send a sample for pH and nutrient analysis, or at least use a field kit. Greenhouse soil loses fertility faster than open ground because nothing is leached out and nothing is rotated in. Correct pH first, then nutrients. A soil test costs a fraction of a lost crop and settles the fertiliser argument before it starts.
Step 3: Choose the crop and the planting date
Pick the crop against your ventilation and your market, then set the date backwards from the price you want. Group plants with a similar growth cycle so one bed empties and refills together. If you are building the house as well, check the 7-step construction guide so the planting date matches the handover date.
Step 4: Sow more seed than you need
Not every seed germinates, and not every seedling survives transplanting. Sow a margin. Raising seedlings in trays also lets you reject the weak ones before they take up bed space. Plant more than the final stand requires, then thin to the stronger plants at transplant.
Step 5: Hold the climate through the day
Open vents early, before the house heats up, and close them before the evening chill. Insulate the structure so overnight heat is not lost the moment the sun drops. Fit roll-up screens, polypropylene shade cloth or paint-on shading for the hottest weeks. On a climbing crop, plant on a raised bench so air moves under the canopy.
Step 6: Water and feed on a schedule
Water little and often, and measure rather than guess. A drip line on a timer delivers the same volume every day, which is what a greenhouse crop needs. Feed through the same line if the system allows it. Organic fertiliser suits most growers, but a soil test should decide the rate, not habit.
Step 7: Scout for pests every week
Walk the house on the same day each week and look under the leaves. Catching whitefly or thrips early costs a spray; catching it late costs the crop. Keep a dedicated set of tools for the house and never carry them in from open ground. That one rule prevents more disease than any product on the shelf.
Watering and feeding the crop
Greenhouse farming in Kenya cannot rely on rain, so the water line is the whole system. A drip irrigation system delivers a measured volume to each plant and keeps the foliage dry. Dry foliage is half the disease control in a house. Run separate lines per crop group if the cycles differ, and fit a filter where the source is a dam or a borehole.
Fertigation, or feeding through the drip line, is the natural next step. It puts nutrients where the roots are and avoids the waste of broadcast fertiliser in a confined space. Watch the drain water if you use it. A house that recirculates nutrient solution needs a flush schedule, or salts build up in the bed.
Climate control through the year
Temperature is the first thing to manage, and ventilation is the cheapest tool you have. Ridge vents and side curtains move hot air out before it does damage. Shade comes next. Use it in the hot months and pull it back when light is short. A greenhouse is only as good as the air moving through it.
| Parameter | Target | How you hold it |
|---|---|---|
| Daytime temperature | 16 to 30 Celsius | Open vents early, use ridge vents |
| Night temperature | 13 to 18 Celsius | Insulation, thermal screens, double skin |
| Direct light | About 6 hours a day | Clear site, clean film, no conifers nearby |
| Humidity | Moderate, never stale | Ventilation plus wider plant spacing |
| Shade in hot weeks | Partial, adjustable | Roll-up screens, shade cloth, paint-on shade |
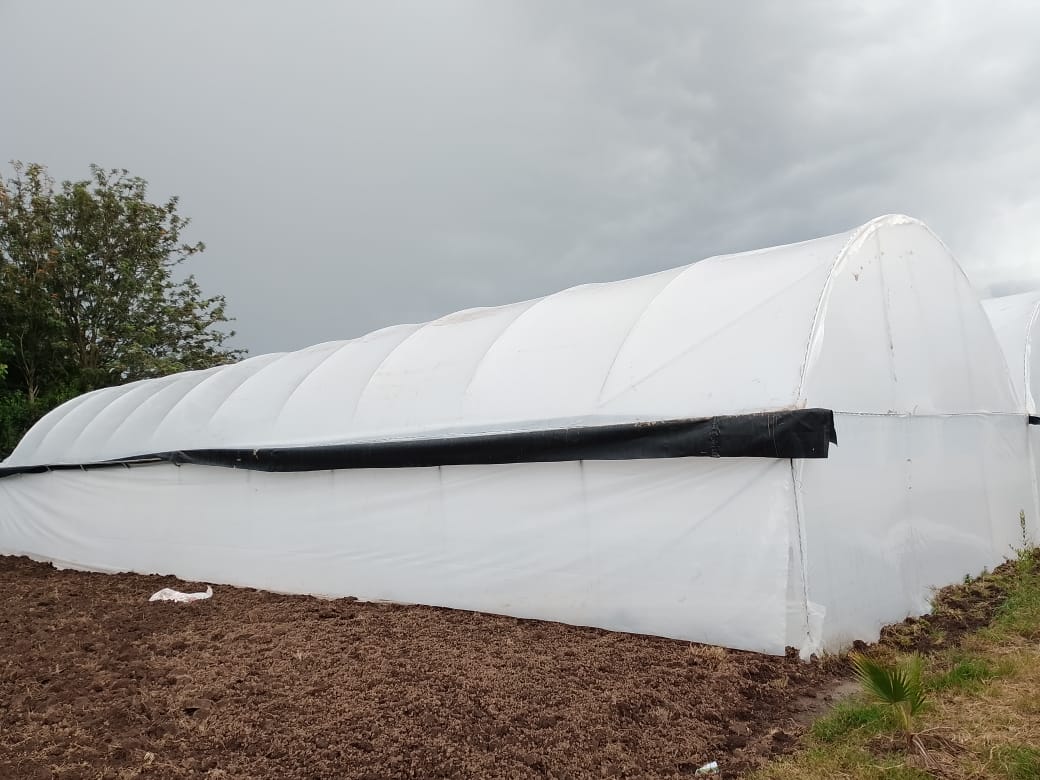
Replace the cover when it clouds over. A dirty or milky film cuts light by a third and quietly costs you yield. A 200-micron greenhouse polythene sheet fitted to the right frame will hold its transmission for several seasons.
Pests and disease: exclusion beats spraying
Experts advise against routine spraying in a house, and the reason is practical. A confined space holds the residue, and the residue ends up on the crop you sell. Build the barrier instead. Fit insect nets for greenhouses over every intake and exhaust so mites and insects cannot walk in.
Keep the house tools separate from the field tools. Do not wear the same boots in both. Remove crop debris weekly rather than at the end of the season. If a pest does get in, treat a patch and watch it, instead of spraying the whole house. Everything in this section is about keeping the barrier intact, because greenhouse farming in Kenya rarely fails on the spray calendar.
What greenhouse farming in Kenya costs to run
The structure is the capital item, and it is a one-off. The running costs are seed, fertiliser, water pumping, labour and film replacement at the end of the cover’s life. Budget those as a monthly figure before you plant, because the harvest will not fund them mid-season. That running figure is what separates sustainable greenhouse farming in Kenya from a house that is abandoned in year two.
Our cost of a greenhouse in Kenya page sets out what each size band buys. If the budget is tight, the affordable greenhouse construction guide compares four sizes against the crop they can carry. Choose the size from the crop, not from the price list.
Five problems greenhouse farming in Kenya hands you in year one
Most first-year failures are predictable. Temperature and humidity swing too far in either direction. Soil fertility falls because the house is never rested. Pests and disease arrive on clothing or in seed. Shade is wrong, either too little in the hot weeks or too much from a nearby tree. Water pools because the floor was never levelled.
Each one has a cheap fix if you catch it early. Test the soil each season and rotate what you grow. Keep a thermometer at plant height and read it at the same time daily. Prune anything that shades the roof. Fix drainage before the long rains, not after.

Greenhouse farming in Kenya: your first week
Start with the boring jobs. Level the floor, check the drain, run the water line, and test the soil. Put a thermometer and a hygrometer at plant height. Walk the house once a day for a week and write down what you see. That written record is what turns a structure into a system.
Then plant a small block, not the whole house. A first planting of a few beds tells you how the house behaves in your climate before your money is all in. Scale the second planting from what the first one taught you. Done that way, greenhouse farming in Kenya becomes a series of small, affordable corrections.
Frequently asked questions
How long does a greenhouse crop take to first harvest?
Leafy greens are ready in 6 to 8 weeks. Herbs are picked continuously from about week 6. Tomatoes and capsicum take roughly 3 months from transplant, depending on the variety and the warmth of the house.
Can I farm in a greenhouse without drip irrigation?
You can, but hand watering wastes labour and wets the foliage. Dry leaves are the first defence against disease, and a drip line keeps them dry. A timer removes the guesswork as well.
How hot should the house get before I open the vents?
Open them before the house reaches 30 degrees Celsius, ideally around 25. Waiting until the plants flag means the heat has already cost you growth. Vent early, then close before the evening chill.
Do I need a soil test every season?
Yes, at least once a year. A house is never leached by rain and never rested, so nutrients and pH drift faster than in open ground. A test is cheaper than a corrective fertiliser programme.
What is the biggest mistake new growers make?
Planting the whole house in the first season. A small trial block shows how the structure performs on your site before the full investment is committed.
Greenhouse farming rewards the grower who measures. Light, temperature, water and soil are all readable, and each one has a cheap correction. Get those four right and the house will carry a crop through both the wet and the dry season. That is the whole promise of greenhouse farming in Kenya, and it is achievable on a small plot.